

 Rapid Ext JS (beta)


How to Upgrade a Sencha Touch App to Ext JS 6 Modern Toolkit – Part 2
January 19, 2016
115 Views
Cupertino Theme
In part 1 of this blog post series, I discussed the changes in Ext JS 6 Modern Toolkit and showed you how to do a basic mobile upgrade of your Sencha Touch app. In this article, I’ll show you how to do an advanced mobile upgrade.
Advanced Mobile Upgrade
For the advanced mobile upgrade, you will use the MVVM pattern. It will take more time and steps to upgrade this way, but you will have a lot of advantages with the latest framework and all of the new features and classes. Also, you can improve your application performance and code base with the new MVVM architecture.
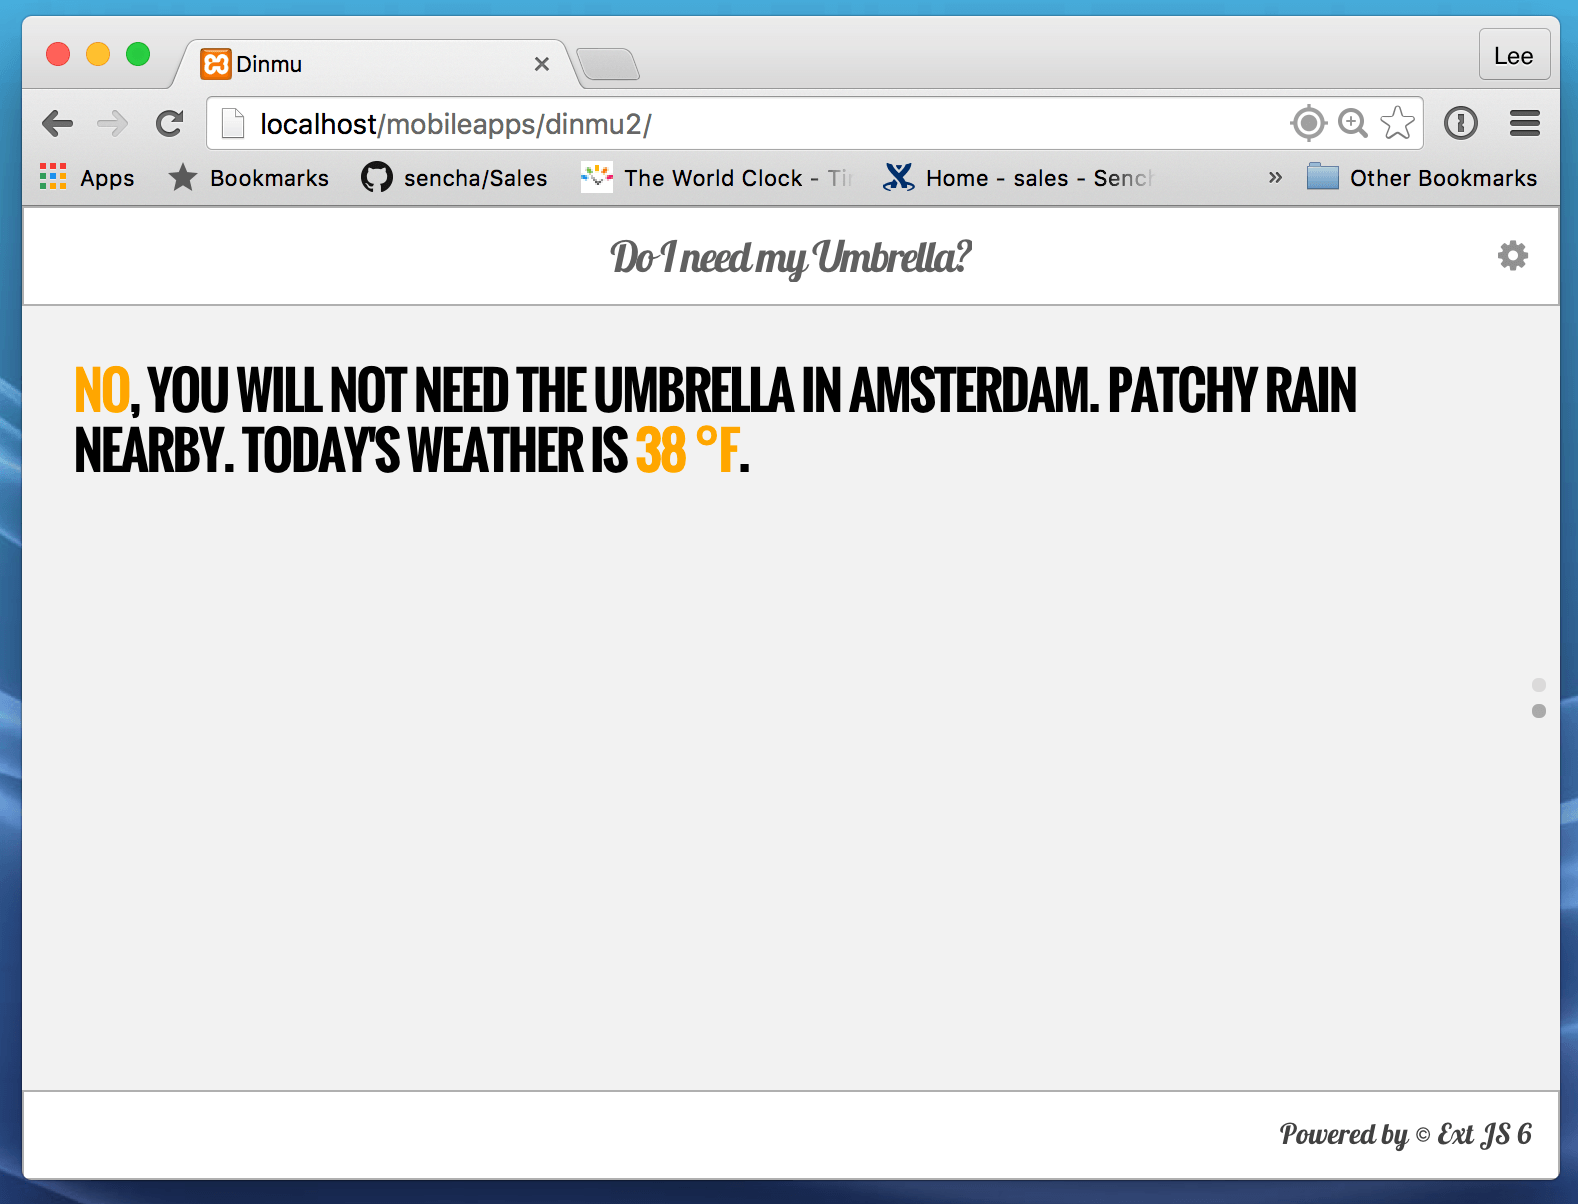
I’ve cloned this dinmu1 folder to a new folder called dinmu2, so you can see the differences.
Start with Migrating the Views
- In the app/view folder, create the following folder structure (every view gets its own subfolder):
- app/view/main
- app/view/settings
- Move Main.js inside the main subfolder, and SettingsView.js into settings subfolder. (I also renamed SettingsView.js to Settings.js)
- Edit the namespaces for these two views to:
- Dinmu.view.main.Main
- Dinmu.view.settings.Setting
- At this point, you broke the app because the viewport can’t find Main.js and the Main.js view can’t find the Settings view, so you have to fix this:
- In the app.js, you can remove the line:
Ext.Viewport.add(Ext.create(‘Dinmu.view.Main’)); - Above the launch() method, you create a new viewport, via the new way Ext 6 provides, by setting the mainView property to: mainView:
‘Dinmu.view.main.Main’, - Remove the views:
[‘main’] from app.js - Add ‘Dinmu.view.main.Main’ to the requires array
- In Main.js, change the requires for the Settings View to ‘Dinmu.view.settings.Settings’
- In the app.js, you can remove the line:
- To confirm that nothing breaks after this fix, you can run a sencha app refresh, and you shouldn’t see any errors.
Migrate the Controllers to View Controllers
- Create the following new file:
app/view/main/MainController.js - Create the following class definition:
Ext.define('Dinmu.view.main.MainController', { extend: 'Ext.app.ViewController', alias: 'controller.main', //all the VC methods init: function(){ console.log("new VC is initialized"); } }); - Wire up the view controller to the main view:
In Main.js, add the following line: controller: ‘main’, - Also add the MainController to the requires array: Dinmu.view.main.MainController
- Run another sencha app refresh, and test the app in the browser. You should see a log message that states the wiring of the VC was successful. Note, you don’t need to wire this controller up to the Settings view. Because Settings view is nested inside the main view, it can always access the main controller.
- You can remove the controllers array from app.js, because you won’t use it anymore.
- Remove the init method from the view controller and copy over all the methods from app/controller/Main.js into the new view controller.
- Now comes the tricky part. You won’t use the refs and control blocks, so you need to fix these. Instead of the control block, you will create listeners in the view.
There are 5 controls that need to be replaced:- onCarouselChange – activeitemchange in the main view
- btnBack – tap back button in title bar
- onSettingsBtnTap – tap settings button in settings view
- onToggle – toggle on togglebutton
- onRefresh – executed on tap of the refresh button
In the Main.js view class, you will create the activeitem change listener:
listeners: {
      		'activeitemchange': 'onCarouselChange'
    	},
On the back button in Main.js, you will create a tap listener:
listeners: {
             'tap': 'onBackBtnTap'
           }
On the settings button in Main.js, you will create a tap listener:
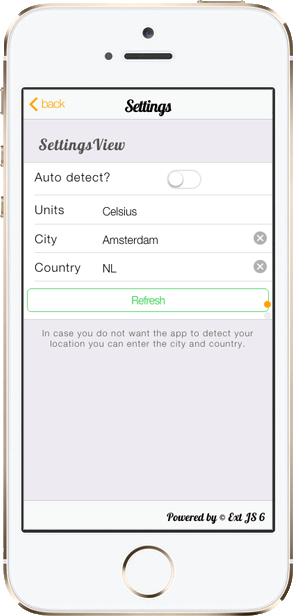
listeners: {
             	'tap': 'onSettingsBtnTap'
           }
On the toggle button in Settings.js, you will create a toggle listener:
listeners: {
           	    change: 'onToggle'
            }
On the refresh button in Settings.js, you will create a tap listener:
listeners: { 'tap': 'onRefresh' } - When you run the application in your browser, you will notice various event errors. The references with component queries are broken. You will fix these now.
- Change the onLaunch method to init. Note, this will break the application because Dinmu.utils.Functions.loadData(), uses the Settings store, which is not wired up to a controller anymore. For now, comment the line with Dinmu.utils.Functions.loadData() out.
- Run another sencha app refresh and test the app in the browser. Everything except the refresh button should work. The refresh button requires the store, which is not linked yet.
All the references to this.getMainView() can be replaced for this.getView(). Because the view controller now knows about the view, you can fix this one easily. I replaced it on 3 places.
The other view references that you need will get a reference on the component, that you can look up later. In Settings.js, add the following property: reference: ‘settings’.
In the MainController, replace this.getSettingsView() with this.lookupReference(‘settings’).
You can fix the onToggle Method like this:
      var s = this.lookupReference('settings');

      if (!newVal) {
         s.down('field[name="city"]').enable();
         s.down('field[name="country"]').enable();
         s.down('field[name="units"]').enable();
      } else {
         s.down('field[name="city"]').disable();
         s.down('field[name="country"]').disable();
         s.down('field[name="units"]').disable();
         s.down('field[name="city"]').reset();
         s.down('field[name="country"]').reset();
      }
In the Main.js view, put a reference in the titlebar configuration:
reference: ‘titlebar’,
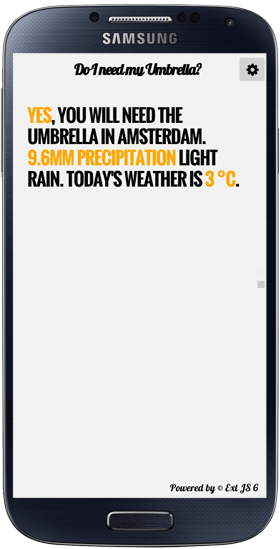
Then replace the onCarouselChange method with:
    onCarouselChange: function(carousel, newVal, oldVal) {
      var t = this.lookupReference('titlebar');

      if (newVal.getItemId() == "mainview") {
        t.down('button[action=back]').hide();
        t.down('button[action=settings]').show();
        t.setTitle('Do I need my Umbrella?');
      } else {
        t.down('button[action=back]').show();
        t.down('button[action=settings]').hide();
        t.setTitle('Settings');
      }
    },
Link the Store to a View Model
- Create the following new file:
app/view/main/MainModel.js - Create the following class definition:
Ext.define('Dinmu.view.main.MainModel', { extend: 'Ext.app.ViewModel', alias: 'viewmodel.main', requires: [ ], stores: { } }); - Wire up the view model to the the main view:
In Main.js, add the following line: viewModel: ‘main’,
Don’t forget to put the Dinmu.view.main.MainModel into the requires array. - Now, link the Settings store; first add Dinmu.store.Settings to the requires array.
- In the Settings store, set an alias: ‘store.settings’ in the store class definition.
- In Ext JS 6, Stores don’t automatically set the storeId to the name of the class, therefore set the storeId to ‘Settings’, so the store manager can find the store via Ext.getStore(‘Settings’)
- After that, add the following store to the stores object, (the type points to the settings alias):
- Enable the Dinmu.utils.Functions.loadData() line, which you commented out before in the MainController. Then run another sencha app refresh and test your app.
        'settings': {
            type: 'settings'
        },
At this point, you should have a working app that uses the MVVM pattern.
Other App Improvements
- This application doesn’t use data feeds in the store. However, another big advantage with Ext JS 6 is that you don’t need to code all the model fields in your Model definition. It gets the data directly from the feed. That saves you from typing all the data in the feed, and makes your model definitions a lot smaller.
- Another thing that’s different in Ext JS 6 is the config blocks. In Sencha Touch, you defined everything in the config block; in Ext JS 6, you only put properties in a config block that need the auto generation of getters, setters, apply, and update methods. For the Dinmu application this means that I had to remove most of the config blocks. For most of the classes, the config block in Sencha Touch style works fine, but you could run into weird problems at some point, if you leave them.
- Promises and Deferreds support. I was always a bit amazed that the way I coded the saving of the settings form just worked. There’s a lot of magic going on in the sync() method, and the way they order the new created records, removed and edited records. It would have been a lot better, if I could have coded it this way:
- Enter the form.
- Check if localstorage contained old settings.
- Remove old records, if any.
- Sync store, and after the sync is complete, add new records.
- Sync store, and after adding, load what’s in the store.
With Ext JS 6, you can do this because it supports promises and deferreds, which allows you to chain methods, via the then() method. Look at how I coded the removeAllSettings and addSettings methods. In the onRefresh method, I chained it. You can compare it with the dinmu1 or touchdinmu files to see how this code differs.
Upgrade the Theme
- You can switch themes by changing the theme property in the app.json file. Out of the box, you can choose between the following themes:
- theme-cupertino (ios theme)
- theme-mountainview (android theme)
- theme-blackberry (blackberry theme)
- theme-windows (windows theme)
- theme-neptune
- theme-triton (default)
Triton Theme After switching the theme, you will need to run sencha app build.
- The platform switcher in Ext JS is renewed. Instead, you will now use the profiles build block in app.json. To set this up, write in app.json:
- Themes for Ext JS 6 Modern toolkit use the same packages structure as Ext JS did. This is great, because it means that you can extend from your own theme packages, and you can generate custom themes with Sencha Cmd:
     "builds": {
         "ios": {
           "toolkit": "modern",
            "theme": "theme-cupertino"
         },

         "android": {
           "toolkit": "modern",
             "theme": "theme-mountainview"
         },

         "windows": {
           "toolkit": "modern",
           "theme": "theme-windows"
         },

         "bb": {
           "toolkit": "modern",
           "theme": "theme-blackberry"
         },

         "default": {
           "toolkit": "modern",
           "theme": "theme-triton"
         }
     },
To enable the multiple themes on your development machine, add these lines to the app.json bootstrap block:
    "bootstrap": {
        "base": "${app.dir}",

        "microloader": "bootstrap.js",
        "css": "bootstrap.css",

        "manifest": "${build.id}.json" //this is the magic, which generates a manifest file, to load on local.
    },
To enable the multiple themes on your production build, add these lines to the app.json output block:
    "output": {
        "base": "${workspace.build.dir}/${build.environment}/${app.name}",
        "appCache": {
            "enable": false
        },
        "manifest": "${build.id}.json",
        "js": "${build.id}/app.js",
        "resources": {
            "path": "${build.id}/resources",
            "shared": "resources"
        }
    },
In index.html you write:
        Ext.beforeLoad = function (tags) {
            var s = location.search,  // the query string (ex "?foo=1&bar")
                profile;

            if (s.match(/\bios\b/) || tags.ios !==0) {
                profile = 'ios';
            }
            else if (s.match(/\bandroid\b/) || tags.android !==0) {
                profile = 'android';
            }
            else if (s.match(/\bwindows\b/) || tags.windows !==0) {
                profile = 'windows';
            }
            else if (s.match(/\bbb\b/) || tags.bb !==0 ) {
                profile = 'bb';
            }
            else {
                profile = 'default';
            }

            Ext.manifest = profile; // this name must match a build profile name
        };
You will need to run sencha app refresh and sencha app build, which builds all profiles, to get it up and running.
sencha generate theme theme-MyTheme
Even if you don’t plan to create custom theme packages, theming is more advanced. To upgrade an existing theme, you have to put all the variables in the sass/var/ folder.
Take a look at my sass/var/all.scss which I used for the weather app application. The custom Sass / CSS classes will be stored in the sass/src/ folder. For an application (without custom theme packages), you have to map the folder structure of your JS applications. In other words, app/view/main/Main.js has a Sass file in this location: sass/src/view/main/Main.scss.
I could take most of my styling directly from my Sencha Touch application. However, there is no “default” Sencha Touch theme anymore, instead there’s the Neptune & Triton themes, which both have different Sass variables and require different DOM.
This means that when you used custom styling for templates (tpls) etc, it won’t break in your upgraded app, but when you used custom Sass to override the Sencha Touch theme, you might see differences. The best practice is to manually go through all the views in your browser, and check to see if the styling is correct. Take a look at my sass/src/view/main/Main.scss which I used for the weather app application.
In the next article in this series, I will show you how to do an advanced universal upgrade.
What's your reaction?
 0
0

 0
0

Latest Content
Discover the Top 07 Architecture Patterns used in Modern Enterprise Software Development
Developing software without an architecture pattern may have been an option back then. However, that’s…
April 11, 2024

JavaScript Design Patterns: A Hands-On Guide with Real-world Examples
As a web developer, you know how popular JavaScript is in the web app development…
March 26, 2024

Virtual JS Days 2024のハイライト
2024年2月20日~22日、第3回目となる「Virtual JavaScript Days」が開催されました。JavaScript の幅広いトピックを採り上げた数多くのセッションを実施。その内容は、Senchaの最新製品、ReExt、Rapid Ext JSまで多岐にわたり、JavaScriptの最新のサンプルも含まれます。 このカンファレンスでは多くのトピックをカバーしています。Senchaでセールスエンジニアを務めるMarc Gusmano氏は、注目すべきセッションを主催しました。Marc は Sencha の最新製品「ReExt」について、詳細なプレゼンテーションを実施。その機能とメリットを、参加者に理解してもらうべく詳細に説明しました。 カンファレンスは、Senchaのジェネラルマネージャを務めるStephen Strake氏によるキーノートでスタートしました。キーノートでは、会社の将来のビジョンについての洞察を共有しています。世界中から JavaScript 開発者、エンジニア、愛好家が集まるとてもエキサイティングなイベントとなりました。これは、JavaScript…
March 25, 2024


