


 Ask Sencha AI
ReExt Made Simple: Everything You Need to Know to Get Started
November 17, 2025
3417 Views
Get a summary of this article:
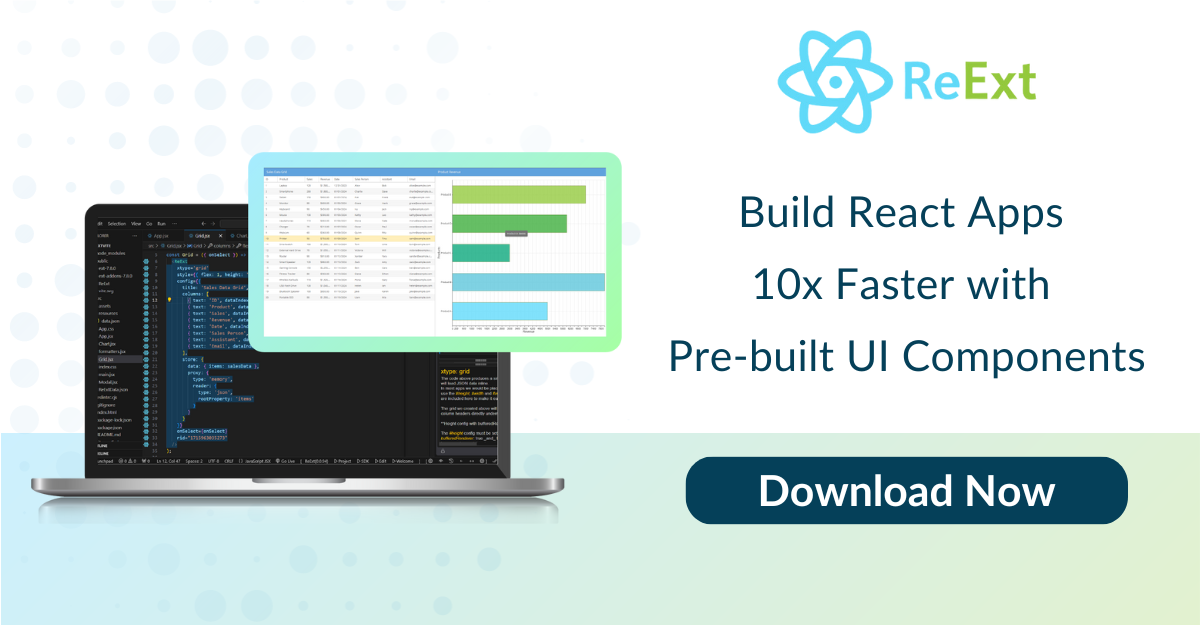
ReExt is a React library developed by Sencha that allows you to use Ext JS components within a React application. It leverages your existing Ext JS knowledge to integrate data-centric components using native React syntax. This guide explains the component syntax, provides step-by-step instructions to set up your environment, and covers advanced configuration options.

Understanding ReExt Component Syntax
ReExt uses familiar Ext JS properties while adopting React syntax. Here’s what you need to know:
- X-Type:This property specifies the type of Ext JS component (for example, a button or grid).
- config:This prop is an object that defines the properties available for the chosen X-Type, such as text, width, columns, or store. These configurations can be managed dynamically by React’s virtual DOM.
- Events:Events are prefixed with on followed by a capital letter (for example, onClick or onTap). The event signatures are similar to those in Ext JS.
- ready:This special event lets you link your React code to the underlying Ext JS component. Once the component is built, you receive an object (cmp) that you can use to call methods or integrate with your state management.ReExt also allows you to expose any custom Ext JS X-types directly in the React environment.
Quick Start: Building Your First ReExt Application
Follow these steps to create your first ReExt application:
- Create a React Application:Use a tool like Vite to create a starter project. Run the following command in your terminal:
npm create vite@latest <project-name> — –template react - Install ReExt:Navigate to your project directory and install the ReExt package:npm install @sencha/ext-react
- Set Up the Application:
- Copy sample code files (such as modifications in vite.config.js, starter code in main.jsx, and a sample component in app.jsx).
- Ensure that main.jsx is properly configured as the entry point of your application.
Managing the Environment with the ReExt Provider
The ReExtProvider component wraps your main application to enable global ReExt functionality. In your main.jsx:
- Initialization:When you start the application (for example, using npx vite or npx vite-open), ReExt automatically points to a Content Delivery Network for the underlying Ext JS files.
- Trial Version:Initially, a trial dialogue may appear. To disable this, request a trial key via an online form and insert it in the ReExtProvider. You can also disable the splash screen by setting the splash property to false.
Trial Keys and Local SDK Integration
If you require a local production version, follow these steps:
- Download the SDK:Obtain the Ext JS SDK (and any premium add-ons) from the Sencha support portal.
- Add the SDK to Your Project:Copy the unzipped SDK folder (e.g., ext-7.9.0) into your project’s public folder.
- Adjust Configuration:Edit the ReExtProvider in main.jsx:
- Modify the ReExtData object to change the location from “remote” to “local”.
- This change ensures that your application uses the local version of Ext JS for faster performance and eliminates trial watermarks.
Toolkit Compatibility and Extensibility
ReExt offers great flexibility:
- Toolkits:Choose between the Classic and Modern Ext JS toolkits using a property in the ReExtData object.
- Versions:ReExt currently supports the latest versions of Ext JS (e.g., 7.9) and React (e.g., 19.2).
- Third-Party Components:Since you are building a pure React application, you can easily incorporate components from other npm libraries (for instance, Fusion Charts or React Split).
- Frameworks:ReExt works with full-framework environments like Next.js, as long as the underlying framework is React-based.
Advanced Configuration: The Knobs of ReExtData
The ReExtProvider makes use of an object called ReExtData that contains critical settings:
- Location:Define whether the Ext JS files should load remotely or locally.
- Toolkit:Specify the use of either the Classic or Modern toolkit.
- SDK Version:Set the current Ext JS SDK version.
- Theme:Choose the UI theme (like Triton or Material). Custom themes are supported with additional tooling.
- Packages:For enterprise customers, include premium features by defining any additional packages.
Licensing and Enterprise Add-ons
For licensed users:
- Integration of Premium Add-ons:If you have downloaded Ext JS Premium Add-ons:
- Unzip the packages.
- Place the add-on packages into the appropriate folder (typically the packages folder in your local Ext JS SDK directory).
- Local Production Setup:Changing the location in ReExtData to “local” ensures that your application runs the local production version without any trial watermarks.
Transitioning Existing Codebases
For developers migrating from older versions of Ext JS (e.g., 7.2 or 7.3):
- Upgrade Adviser:Sencha offers a free Upgrade Adviser tool that:
- Analyzes your current codebase.
- Reports on required changes to migrate to version 7.9.
- Automatically implements some modifications, easing the upgrade process.
The ReExt Community and Resources
Connect with the community and find additional learning resources:
- Sencha Discord Server: A primary forum where developers, including MVPs, discuss ReExt and answer technical questions.
- Resource Center: Located in the developer area of the Sencha website, offering white papers, webinars, and case studies.
- Official Documentation: Refer to the Ext JS and ReExt documentation for detailed information and advanced topics.
- Direct Support: Contact Sencha sales or the ReExt technical team for more in-depth support or licensing inquiries.
Build smarter and faster with ReExt—get your free Ext JS trial today!

 1
1
Latest Content

What's New in Ext JS 8.0
Ext JS 8.0 is here. We’re excited to announce the General Availability Launch of Sencha…
April 6, 2026

Why JavaScript UI Components Matter More in Complex Frontend Architecture
What This Article Covers Why UI components matter – In complex frontend architecture, reusable JavaScript…
March 26, 2026
Custom vs Prebuilt JavaScript UI Components - Which Is Better for Enterprise
What This Article Covers Build vs. Buy decision – Whether to build custom JavaScript UI…
March 26, 2026


