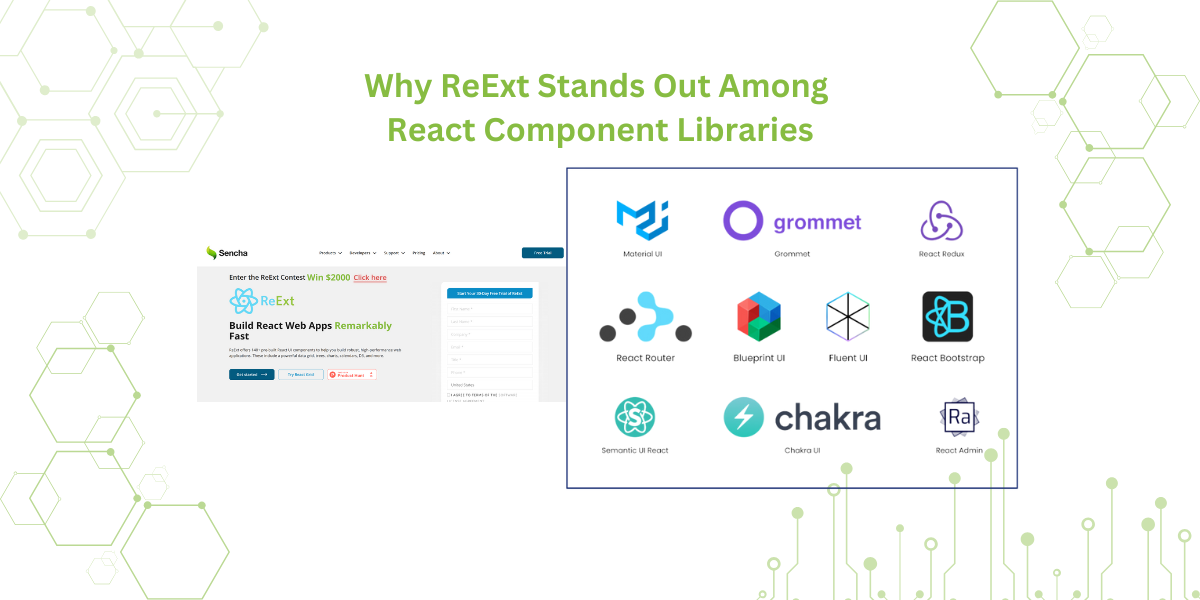
Introducing React ReExt – Sencha Ext JS Components in React! LEARN MORE

How To Create A Grid In JavaScript

July 7, 2022 141 Views
Show

In this technological era, we are generating massive volumes of data. It is estimated that the data that is generated daily is a mind-blowing quintillion bytes per day! Hence, it’s no wonder that software apps, which can handle millions of data records, are of paramount importance. In this context, a JavaScript grid that allows users to manipulate and work with tabular data is key. It is for this reason that many data scientists and developers often ponder how to create a grid in JavaScript quickly and easily.

Sencha Ext JS allows you to create data-intensive HTML 5 apps using JavaScript. You can effortlessly create cross-platform web and mobile apps for all modern devices. This is an easy-to-follow JavaScript grid tutorial that enables you to effortlessly create a JavaScript grid. Continue reading to discover how to create a data grid using JavaScript and HTML. All you have to do is create an empty .html file and follow the four steps given below. 

Why Should I Opt For Sencha Ext JS JavaScript Grid?

Sencha Ext JS provides the fastest JavaScript grid. It empowers you with an incredibly fast speed and enables you to process millions of records within milliseconds. Experiments with performance benchmarks have shown that Ext JS grid beats all its competitors in terms of initial load time, filtering speed, and scrolling speed.

Additionally, by using Sencha’s grid, you can completely revamp your HTML5 grid. The Sencha Ext JS JavaScript grid is 100% configurable. You can easily design a grid to fulfill all your clients’ requirements. You can add various data visualizations to the grid, such as line charts, pie charts, bar charts, and more. This goes a long way to help your clients understand their data. Moreover, you can also add other UI components to the grid.

How To Create A Grid In JavaScript: What Are The Steps?

You can easily create a grid in JavaScript using a single HTML file. Create an empty grid.html file and follow the steps given below. Once you complete these 4 steps, you’ll see a grid that looks as follows:

Opening the html file in the browser shows the above grid after following the 4 steps of How To Create A Grid In JavaScript

In the above JavaScript grid, there are only three columns for the country, population, and population growth. However, you can extend the grid and add more columns and rows to the data table.

Step 1: What Do I Need To Import For Creating A Grid In JavaScript?

To create a JavaScript grid in a single HTML file, import the Ext JS library and stylesheets. You can add the following code anywhere in the header of the HTML file:

<link href="https://cdnjs.cloudflare.com/ajax/libs/extjs/6.2.0/classic/theme-classic/resources/theme-classic-all.css" rel="stylesheet" type="text/css" />
<script src="https://cdnjs.cloudflare.com/ajax/libs/extjs/6.2.0/ext-all.js" type="text/javascript"></script>

Step 2: How Do I Define The Model For Creating A Grid In JavaScript?

To build a grid using Ext JS, you need to create a model. In the code below, the name of the model is com.extjsGrid.Sencha and it extends Ext.data.Model. This code defines a model for three columns – country, population, and population growth. All three columns are specified using the field key.

Ext.define("com.extjsGrid.Sencha", {
 extend: "Ext.data.Model",
 fields: ["Country", "Population", "PopGrowth"]
});

Step 3: How Do I Define The Data Store For JavaScript Grid?

The data store holds all the data values for the grid. In the code below, senchaStore is a variable that stores all the data of the grid. To fill up the grid, specify one row of the grid in the data array. In each row, you have to specify the value corresponding to each column using JSON.

var senchaStore = Ext.create("Ext.data.Store", {
 model: "com.extjsGrid.Sencha", 
 data: [
  {'Country': 'China', 'Population': '1,448,116,402', 'PopGrowth': '14.2%'},
  {'Country': 'India', 'Population': '1,401,736,293', 'PopGrowth': '39.3%'},
  {'Country': 'United States', 'Population': '334,086,023', 'PopGrowth': '18.4%'}
 ]
});

Step 4: Where Do The Specifications Of The Grid Columns Go?

Ext JS allows you to create a grid panel. A grid panel enables you to show data in a tabular format. With the Ext.grid.Panel object, you can specify all the configurations of the columns in your data grid using JSON. The columns  array of the Ext.grid.Panel allows you to define the width and other parameters of each column. The dataIndex key of each element of the columns array connects a column with its corresponding item in the data store.

Ext.create("Ext.grid.Panel", {
 renderTo: document.body,
 store: senchaStore,
 title: "Country Population", 
 width: 400,
 columns: [
 {
  text: 'Country',
  dataIndex: 'Country',
  width: 100
 },
 {
  text: 'Population',
  dataIndex: 'Population',
  width: 200
 },
 {
  text: 'Population Growth (2000-2022)',
  dataIndex: 'PopGrowth',
  width: 100,
 }
]});

How To Create A Grid In JavaScript: What Is The Consolidated Code?

The entire code for this JavaScript grid app can be pasted in one .html file. It is given below. You can paste it in an empty .html file and open the file in a browser. To display the JavaScript grid, you add Ext.onReady() function and add the model, store and grid specifications inside this function. This is shown in the code below.


<html>
<head>
<meta charset="ISO-8859-1">
<title>Sencha Ext JS Grid</title>
<link href="https://cdnjs.cloudflare.com/ajax/libs/extjs/6.2.0/classic/theme-classic/resources/theme-classic-all.css" rel="stylesheet" type="text/css" />
<script src="https://cdnjs.cloudflare.com/ajax/libs/extjs/6.2.0/ext-all.js" type="text/javascript"></script>
<script>
 Ext.onReady(function() {
  Ext.define("com.extjsGrid.Sencha", {
   extend: "Ext.data.Model",
   fields: ["Country", "Population", "PopGrowth"]
  });

  var senchaStore = Ext.create("Ext.data.Store", {
  model: "com.extjsGrid.Sencha", 
  data: [
   {'Country': 'China', 'Population': '1,448,116,402', 'PopGrowth': '14.2%'},
   {'Country': 'India', 'Population': '1,401,736,293', 'PopGrowth': '39.3%'},
   {'Country': 'United States', 'Population': '334,086,023', 'PopGrowth': '18.4%'}
  ]
  });

  Ext.create("Ext.grid.Panel", {
   renderTo: document.body,
   store: senchaStore,
   title: "Country Population", 
   width: 400,
   columns: [
   {
    text: 'Country',
    dataIndex: 'Country',
    width: 100
   },
   {
    text: 'Population',
    dataIndex: 'Population',
    width: 200
   },
   {
    text: 'Population Growth (2000-2022)',
    dataIndex: 'PopGrowth',
    width: 100,
   }
  ]
  });
  });
</script>
<img src="https://www.sencha.com/wp-content/uploads/2021/11/icon-product-ExtJS-removebg-preview.png" alt="Sencha icon", width="50">
<h1>Welcome to Sencha's Fastest Javascript Grid</h1>
<h2>How to Create a Grid in Javascript</h2>
<h3>Top 3 Countries With Highest Population</h3>
<h3>Resource: internetworldstats.com</h3>
</head>
</html>

That’s it! We just created an awesome data grid using Ext JS in 4 easy steps. You can add additional code to style the grid or add different charts and other UI components to it.

How Do I Sign Up For Ext JS?

Ext JS is the best framework for developing apps for the web and mobile devices. It is shipped with awesome tools, such as:

Moreover, Sencha empowers you with the fastest data grid to create data-intensive apps. Whether your preferred development environment is React or Angular, you can use Sencha’s grid to enable your clients to work with millions of records.

If you are not already a Sencha developer, try out Ext JS for free. Fantastic tools are available, such as Sencha Architect, Sencha Themer, Sencha Cmd, ExtBuild, Inspector, Sencha Stencils and much more. Head out and join the Sencha family today and make the most of your app development experience.