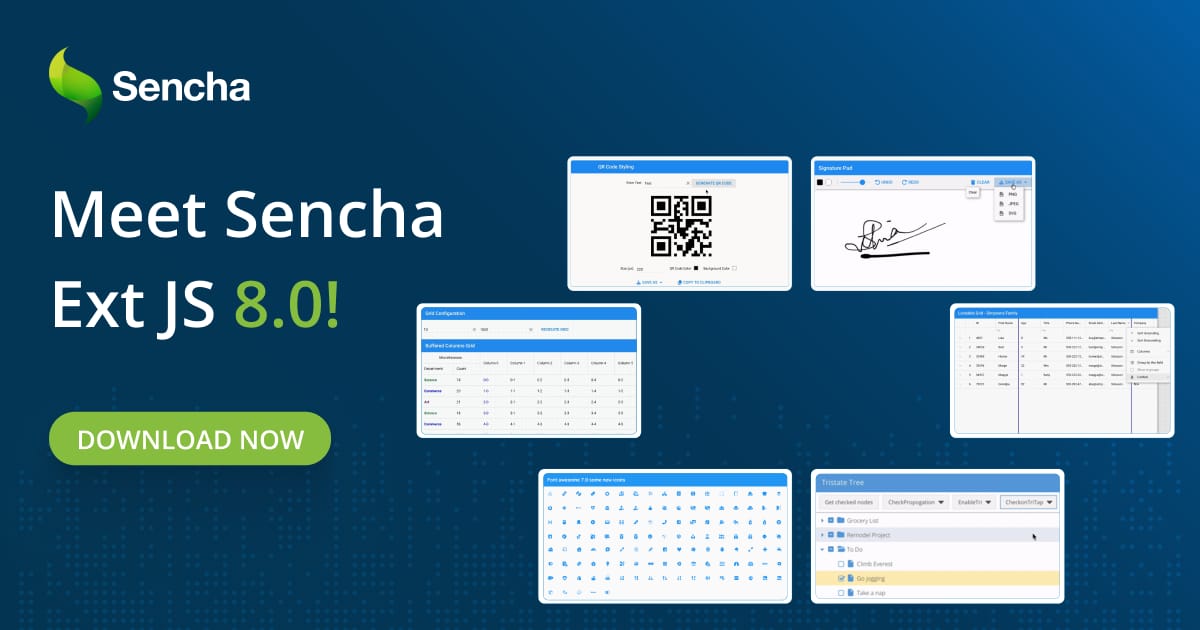
Introducing React ReExt – Sencha Ext JS Components in React! LEARN MORE

A Step-by-Step Guide To An Ext JS Tutorial For Beginners

February 25, 2022 669 Views

Ext JS is a popular JavaScript framework for building data-intensive, cross-platform web and mobile applications for any modern device. It comes with a comprehensive set of components for building complex user interfaces and also provides tools for managing layout, handling events, and creating animations. Ext JS promotes writing reusable and maintainable code, leveraging the object-oriented capabilities of JavaScript. It also includes built-in solutions for accessibility, responsiveness, and theming, thus addressing a wide range of common development requirements. This article is an Extjs Tutorial For Beginners that will help you to get started with the framework.

How to download and set up Ext JS?

Are you a trial customer or an active one? Either way, getting started with Ext JS and creating your new project is a breeze. You can simply do it by referring to our documentation.

For our trial customers, the first thing you’ll need to do is install the Ext JS 30-day trial package. This package is readily available from the public npm. Simply use the command npm install -g @sencha/ext-gen to install the latest Ext JS version.

If you’re an active customer, you’ll first need to access Sencha’s private npm registry. This is where Ext JS and all related commercial packages are housed. Log in with the credentials you used during your support portal activation. A handy tip for this process is to replace the ‘@’ in your email with ‘..’. For instance, ‘[email protected]’ becomes ‘name..gmail.com’. You’ll then use npm login --registry=https://npm.sencha.com/ --scope=@sencha it to complete the login. With that done, install Ext JS using npm install -g @sencha/ext-gen.

Having installed Ext JS, the next step is to generate your new Ext JS project. Use ext-gen app -a -t moderndesktop -n ModernApp to generate a basic two-view application that includes a simple home page and grid.

Now, it’s time to explore your new application. Navigate to your project directory using cd ./modern-app. Finally, start exploring your new Ext JS project, which conveniently opens your browser at the application’s entry point.

Can I use Ext JS through a CDN?

One of the advantages of modern web development is the ability to utilize libraries and frameworks via a Content Delivery Network (CDN). CDN facilitates quick, reliable, and efficient delivery of content to users globally. But, can we use Ext JS through a CDN without downloading files locally? Absolutely, yes! Here’s how:

Instead of hosting the Ext JS files on your local server, you can reference them directly from a CDN within your HTML file.

<HTML> 
    <head> 
        <link rel = "stylesheet" type = "text/css" href ="https://cdnjs.cloudflare.com/ajax/libs/extjs/6.0.0/classic/theme-crisp/resources/theme-crisp-all.css"/> 
        <script type = "text/javascript" src = "https://cdnjs.cloudflare.com/ajax/libs/extjs/6.0.0/ext-all.js"></script> 
        <script type = "text/javascript" src = "app.js" ></script> 
    </head> 
</html>

What browsers are supported to run Ext JS applications?

Sencha Ext JS supports a range of web browsers for running its applications. Here is a list of some of them:

Desktop Browsers:

  • Google Chrome (latest version)
  • Mozilla Firefox (latest version)
  • Apple Safari 6 or higher
  • Microsoft Edge (latest version)
  • Opera

Mobile Browsers:

  • Safari 6 or higher on iOS
  • Chrome (latest version) on Android

What are the naming conventions followed in Ext JS?

Adhering to naming conventions is an integral part of any programming language, and Ext JS is no exception. It employs the standard JavaScript naming conventions. Although these are not mandatory rules, following them can significantly improve your code readability, and maintainability, and even help prevent bugs. Here’s an overview of the primary Ext JS naming conventions.

  • Classes: Class names in Ext JS typically begin with an uppercase letter, followed by CamelCase. For example, ‘EmployeeRecord’ or ‘ProductDetail’. This format makes it easy to differentiate class names from other identifiers in your code.
  • Methods: Method names should start with a lowercase letter, followed by CamelCase. For example, ‘calculateSalary()’ or ‘fetchProductDetails()’. This style allows developers to instantly identify methods.
  • Variables: Variable names, much like method names, should also begin with a lowercase letter, followed by CamelCase. For instance, ’employeeCount’ or ‘productName’. This clear and concise naming helps reduce confusion between variable and class names.
  • Constants: Constants are typically written in uppercase, separating words with underscores, for instance, ‘MAX_VALUE’ or ‘DEFAULT_SETTING’. This convention sets constants apart from other identifiers, emphasizing their immutable nature.
  • Properties: Properties of a class should start with a lowercase letter, followed by CamelCase, similar to methods and variables, such as ‘firstName’ or ‘productPrice’.

What is the project structure and how does it work?

In Ext JS, the MVC or MVVM structures help organize the project. To start, the MVC structure separates data, user interface, and logic into different parts. This makes the code cleaner and easier to maintain. The image below shows the structure of a typical project.

So, in Ext JS, there’s this thing called the MVVM design. Here, we use a ViewModel instead of a controller. This helps manage the app’s data and interface better.

Let’s visualize how it works. Imagine we use a model object in many parts of the user interface. If we change the value at one spot, the cool thing is, we see this change everywhere else that uses the same model.

This is because the model’s value gets updated automatically, showing the new data across the interface. As a result, without even storing the values, our app’s user interface remains up-to-date and consistent.

How to build our first program?

Let’s start off with a simple Hello World program. Create an index.html page as follows in the editor you prefer.

<!DOCTYPE html>
<HTML>
    <head>
        <link href="https://cdnjs.cloudflare.com/ajax/libs/extjs/6.0.0/classic/theme-classic/resources/theme-classic-all.css" rel="stylesheet" />
        <script type="text/javascript" src="https://cdnjs.cloudflare.com/ajax/libs/extjs/6.0.0/ext-all.js"></script>
        <script type="text/javascript">
            Ext.onReady(function() {
                Ext.create('Ext.Panel', {
                    renderTo: 'helloWorldPanel',
                    height: 200,
                    width: 600,
                    title: 'Hello world',
                    html: 'First Ext JS Hello World Program'
              });
          });
       </script>
    </head>
    <body>
        <div id="helloWorldPanel"></div>
     </body>
</html>

In this HTML file, we’re including the necessary Ext JS stylesheets and scripts using the <link> and <script> tags. The CSS file is responsible for styling Ext JS components, while the JS file contains the actual Ext JS library.

The Ext.onReady() method is a vital part of this script. It’s the function Ext JS invokes when the DOM is fully loaded and ready, ensuring that all the Ext JS components render correctly.

Within this method, we create an instance of the Ext.Panel class using Ext.create(). Ext.Panel is a predefined class in Ext JS, which provides a container that can render HTML markup and also contains other Ext JS components.

This panel has several configuration properties:

  • renderTo: Specifies the HTML element (by its ID) where the panel is rendered.
  • height and width: Define the dimensions of the panel.
  • title: Sets the title of the panel.
  • html: Provides the HTML content displayed in the panel.

Save the file and open it in a web browser. You should see your first Ext JS application – a panel with the title ‘Hello World’ and the text ‘First Ext JS Hello World Program’ within.

This simple exercise introduces you to the essential mechanics of building applications with Ext JS. As you progress, you’ll be able to build more complex, dynamic, and interactive web applications using the powerful Ext JS framework.

How to create classes?

Creating custom classes in Ext JS is a powerful way to enhance modularity, code reusability, and maintainability in your application. By defining your own classes, you can encapsulate specific functionalities and behaviors that can be reused across different parts of your application. This leads to cleaner, more organized, and easier-to-manage code.

While Ext JS provides over 300 pre-defined classes, there might be specific needs unique to your application that necessitate the creation of custom classes. You can define new classes in Ext JS using the Ext.define() method. This method takes three parameters: the class name, an object that defines the members (properties and methods) of the class, and an optional callback function to be invoked when the class is fully defined.

Here is an example of that.

Ext.define('employeeApp.view.EmployeeDeatilsGrid', {
   extend : 'Ext.grid.GridPanel',
   id : 'employeesDetailsGrid',
   store : 'EmployeesDetailsGridStore',
   renderTo : 'employeessDetailsRenderDiv',
   layout : 'fit',
   
   columns : [{
      text : 'Employee Name',
      dataIndex : 'employeeName'
   },{
      text : 'ID',
      dataIndex : 'employeeId'
   }]
});

In the code you see above, we start off by defining a fresh class, labeled as employeeApp.view.EmployeeDeatilsGrid. Intriguingly, it extends Ext.grid.GridPanel. This is a pre-set Ext JS class known for crafting a grid panel. Here, the extend property plays a crucial role as it signifies the parent class, from which the new class receives its properties and methods.

Moving forward, we use the id property. This acts as a unique marker for instances belonging to this class. Next in line is the store property. It pinpoints the data store, known as ‘EmployeesDetailsGridStore’ in this scenario, that’s used to fill the grid with data.

Then we meet the renderTo property. This one is responsible for specifying the HTML element, identified by its id ’employeessDetailsRenderDiv’, where the grid is set to materialize.

Lastly, we adjust the layout property to ‘fit’. This ensures that our grid will occupy the full area of its parent container. Thus, creating a neat and complete layout.

Creating Objects

In Ext JS, objects are instances of classes and can be created using one of two methods.

The first method is using the new keyword, a traditional approach in JavaScript. Here’s an example.

var employeeObject = new employee();
employeeObject.getEmployeeName();

In this case, employeeObject is an instance of the employee class, and we’re invoking the getEmployeeName() method on this object.

The second method to create an object is by using Ext.create(). This method takes the class name as a string and an optional configuration object. Here’s an example.

Ext.create('Ext.Panel', {
   renderTo : 'helloWorldPanel',
   height : 100,
   width : 100,
   title : 'Hello world',
   html : 'First Ext JS Hello World Program'		
});

In this case, we’re creating an instance of Ext.Panel and setting some configuration options for it. This is a more flexible method for creating objects in Ext JS, as it allows us to set configuration options at the time of object creation.

Inheritance

In Ext JS, you can achieve inheritance in two primary ways.

The first one is by using the extend keyword in Ext.define(). This keyword specifies the parent class that the new class should inherit properties and methods.

Here is an example.

Ext.define(studentApp.view.EmployeeDeatilsGrid, {
   extend : 'Ext.grid.GridPanel',
   ...
});

In this case, our custom class studentApp.view.EmployeeDeatilsGrid extends Ext.grid.GridPanel, thereby inheriting all the essential functionalities of the Ext JS class GridPanel.

The second method is using Mixins, which provides a way to share methods across multiple classes without having to use inheritance. This can be particularly useful when you want a class to have access to the methods of several other classes without needing to be a subclass of these classes. Here’s an example.

mixins: {
   commons: 'DepartmentApp.utils.DepartmentUtils'
},

In this case, we’re including the methods of DepartmentApp.utils.DepartmentUtils in our class using mixins. Now, the class can utilize the functions of DepartmentUtils without directly inheriting from it. This provides more flexibility and reduces the complexity of the class hierarchy.

Overall, understanding and properly utilizing object creation and inheritance in Ext JS is fundamental to developing efficient, reusable, and maintainable code.

What is Sencha CMD?

Sencha CMD is a potent, comprehensive Command Line Interface (CLI) tool for Sencha JavaScript frameworks such as Ext JS and Sencha Touch. This cross-platform tool streamlines and enhances the development process, supporting you from the initiation of a project to its successful deployment.

Sencha CMD assists in scaffolding new projects, compiling code, managing dependencies, and optimizing the build for production. By enabling code minification, image slicing, and resource bundling, it ensures that the delivered applications are highly optimized for performance.

Moreover, it aids in managing the entire application’s lifecycle, including generating application templates, managing packages, building applications for testing, and deploying them for production. With its inherent automation capabilities, Sencha CMD takes a substantial load off your shoulders, making the development process smoother and more efficient.

Download Sencha CMD Now.

What is Sencha Themer?

Sencha Themer empowers you to effortlessly style Ext JS applications by providing tools to create and manage UI themes. This powerful utility lets you customize your application’s appearance without writing a single line of code.

With Sencha Themer, you can modify Ext JS base theme variables, create new ones, and instantly preview the results on your application. You can change colors, sizes, fonts, and more to create a look and feel that aligns with your brand identity.

Additionally, it provides a color palette tool that allows you to create custom color sets and apply them throughout your theme. Themer also lets you inspect component styles and modify them directly.

Start giving your Ext JS applications a unique, brand-consistent look with Sencha Themer. Download Sencha Themer Now.

What are sencha examples?

Sencha Ext JS comes with an extensive collection of examples to showcase its capabilities and potential. They cover a wide range of use cases and scenarios, allowing developers to see the possibilities and learn best practices.

Ext JS utilizes the advanced features of HTML5, ensuring your applications are future-ready while also maintaining compatibility with legacy browsers. It enables you to build highly responsive, versatile, and attractive web applications that deliver a seamless user experience across desktops, smartphones, and tablets.

The Sencha examples cover everything from basic component usage, like grids, charts, trees, and forms, to advanced applications, demonstrating the power of combining these elements. They provide a hands-on approach to understanding the framework and serve as an invaluable resource when learning how to implement specific functionality or when you’re seeking inspiration for your own projects.

Are you ready to experience the power of Ext JS?

In this article, we’ve walked you through a comprehensive Ext JS tutorial crafted especially for beginners. You’ve seen firsthand how straightforward it is to set up an application using Ext JS.

Sencha Ext JS is a great JavaScript framework that offers a comprehensive set of high-performance UI widgets, data management libraries, and more. Whether you’re building a simple web application or a complex enterprise solution, Ext JS has all the tools you need to create efficient, maintainable, and scalable applications.

And the good news? Sencha Ext JS is readily available for you to try. We offer a free trial, giving you the chance to explore its robust features and capabilities. But it doesn’t end there. Sencha also provides a Community Edition of Ext JS. This version, designed for small teams and individual developers, offers the core features of Ext JS completely free of charge.

Download Sencha Ext JS Free Trial or Community Edition Now.

Banner: C-Level Guide for Enterprise Application Development

FAQs

What is Ext JS?

Ext JS is a powerful JavaScript framework that allows developers to build feature-rich, cross-platform web, and mobile applications.

Is Ext JS suitable for beginners?

Yes, Ext JS provides extensive documentation and a user-friendly API, making it accessible for beginners to learn and start developing applications.

What are the key features of Ext JS?

Ext JS offers a wide range of features, including data management, UI components, theming, responsive layouts, and robust support for MVC architecture.

Can I use Ext JS to create both web and mobile applications?

Absolutely! Ext JS is specifically designed to build applications that work seamlessly across various platforms, including web browsers and mobile devices.

Sencha CTA Banner: Try Sencha Ext JS