How to Write End-to-end Tests with The Sencha Test

No software or app is complete without testing. Software testing essentially ensures we deliver high-quality apps that work as users expect them to. There was a time when developers had to test applications manually. Luckily, today, we have various powerful tools for automated testing. With these tools, we can easily automate various types of software testing, such as unit tests and end-to-end tests. Sencha Test is one such tool.
It is a complete testing solution specifically designed for Ext JS and Sencha Touch applications.
Sencha Test helps automate unit and end-to-end testing. Moreover, it supports cross-browser and cross-platform automated tests. Thus, it enables developers to deliver quality apps and meet delivery timelines.
In this guide, you’ll learn how to use Sencha Test for test automation. We’ll cover the complete test creation process with Sencha Test.
What Does End-to-End Mean?
End-to-end testing is essentially a software testing technique. It basically involves testing the performance and functionality of the entire app from start to finish. This includes all integrated components and external dependencies. Thus, end-to-end testing helps developers ensure the app behaves as expected from the user’s perspective.
End-to-end testing involves mimicking real-world usage scenarios. It helps identify issues related to:
- Integration
- Data flow
- User interactions
- System dependencies
These issues may not be apparent when testing individual components separately.
Why Is End-to-End (E2E) Testing Important?
There are various types of tests. For example, we use unit testing tools to test the individual features or components of an app. These tests provide quick feedback to developers on whether a feature is working correctly or not.
However, testing each feature individually isn’t enough. It’s possible that these features work just fine individually, but there may be issues when they are integrated together.
Thus, we must ensure all the features of an app/software work together as expected. We can perform integration testing for this purpose. It involves testing various components together to ensure they work correctly.
However, we still need to perform end-to-end testing. That’s because E2E testing allows us to test the behavior of the entire application. It ensures all integrated libraries, components, and services work together correctly in real-world use cases.
E2E testing covers all the aspects of the application, including:
- User interface
- Databases
- Servers
- External APIs
- Third-party integrations.
All in all, end-to-end tests enable developers to expand their test coverage. Developers can use more detailed test cases compared to other testing techniques, such as unit and integration testing.
Common Tools Used in E2E Testing
Selenium
Selenium is perhaps the most popular framework for testing web apps. It comes with various tools for automating web browsers across different platforms. Moreover, it supports various programming languages. With Selenium WebDriver, we can perform E2E testing.
Cypress
Cypress is a well-known E2E web app testing framework. It provides various useful features, such as:
- Automatic waiting
- Time travel debugging
- Real-time reloading
Cypress is also known for its ease of use and fast execution.
Sencha Test
Sencha Test is a robust testing solution designed for Ext JS applications. It supports unit and end-to-end functional tests and provides seamless integration with Ext JS.
Sencha Test is a critical part of the Sencha Platform. It helps developers and test automation engineers create quality apps and boosts productivity throughout the testing effort. Moreover, it supports popular Open Source testing libraries like Jasmine, WebDriver and Istanbul.
Secha Test also supports cross-browser testing. This means teams can create and execute end-to-end on multiple browsers simultaneously.
What are the Challenges of End-to-End Testing?
Common challenges include:
- To perform effective E2E testing, developers/testing teams must have a solid understanding of user goals and expectations.
- Since E2E testing involves testing the entire application stack, executing tests across multiple layers and components can be challenging to design, implement, and maintain.
- E2E tests must mimic real-world scenarios, which requires realistic test data. This can be time-consuming and complex.
How to Do End-to-End Automated Testing with Sencha Test?
Here, we’ll show you the basic steps for performing automated end-to-end testing on an existing or already published Ext JS app. With these steps, you can launch your entire app and test it from an end-user’s perspective.
1) Launch Sencha Test Studio or Sencha Studio and create a new Project. Then, provide the URL where your Ext JS app is running.
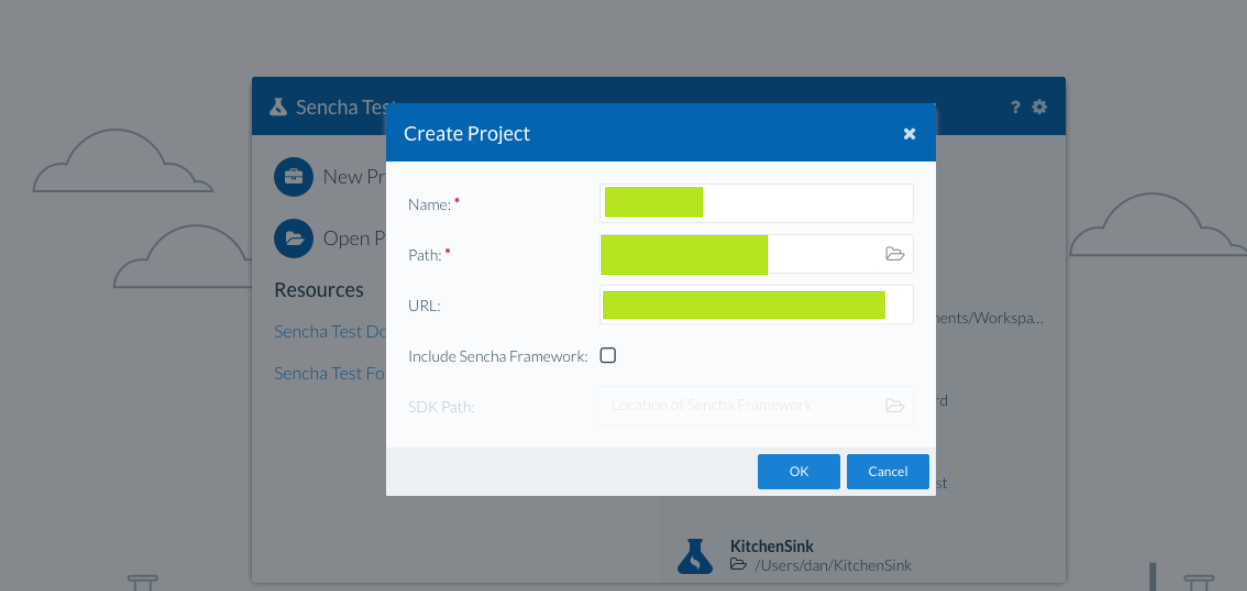
- Name: Define the name of the project, such as ‘ToDoApp’
- Path: This is where your project will be created. Test suite files and scenarios will be added to this location.
- URL: Example “http://examples.sencha.com/extjs/latest/examples/admin-dashboard/”
2) Once you’ve created a project, you can create a scenario. To do so, click on the “New Scenario” button. This scenario will hold your test suite files.
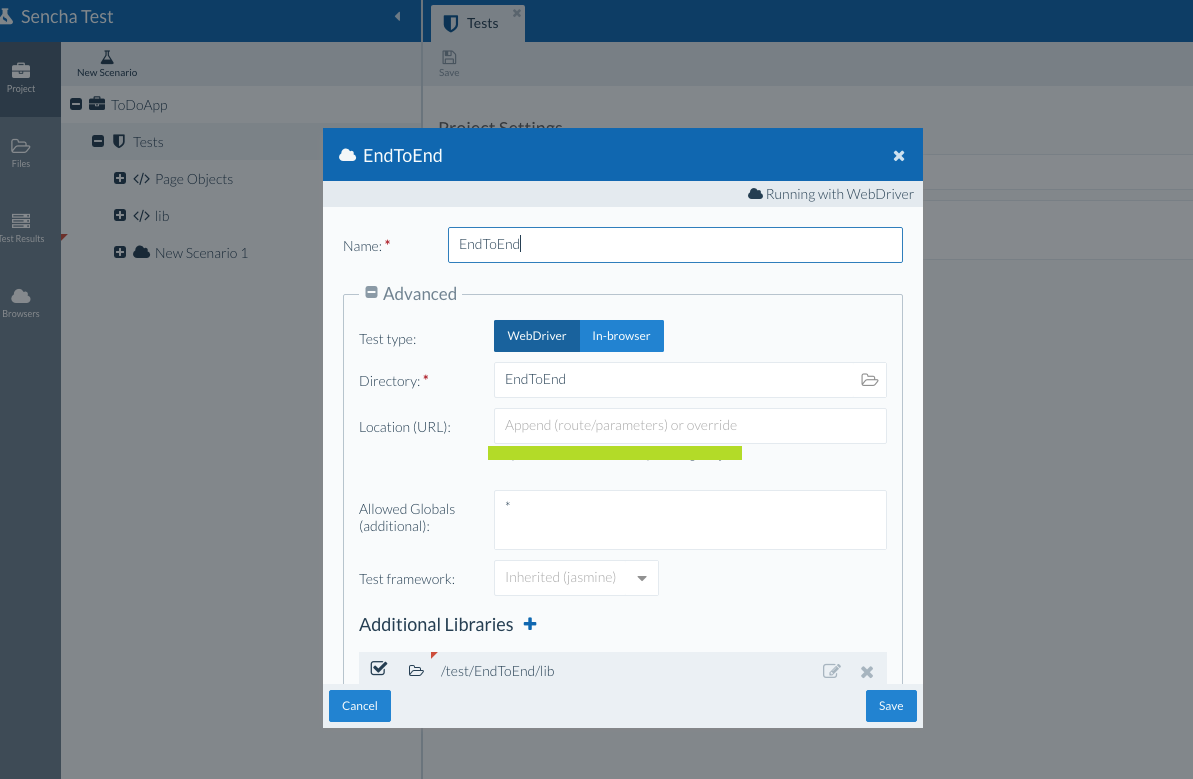
- Name: Define a name for the scenario, for example, ‘EndToEnd’.
- Test type: For end-to-end tests, we recommend selecting WebDriver. Doing this will run your tests separately from the browser. Remember, all new scenarios are set to WebDriver type by default when you have already selected the Test Engineer persona in Sencha Studio.
3) Once a Scenario is created successfully, select the scenario in the tree. Then click the “New Test Suite” option. Next, choose “Jasmine Test Suite” from the menu.
4) Provide a name for the test suite, for example, AddNew. This will create a new Jasmine test suite file. The .js file extension will be added automatically.
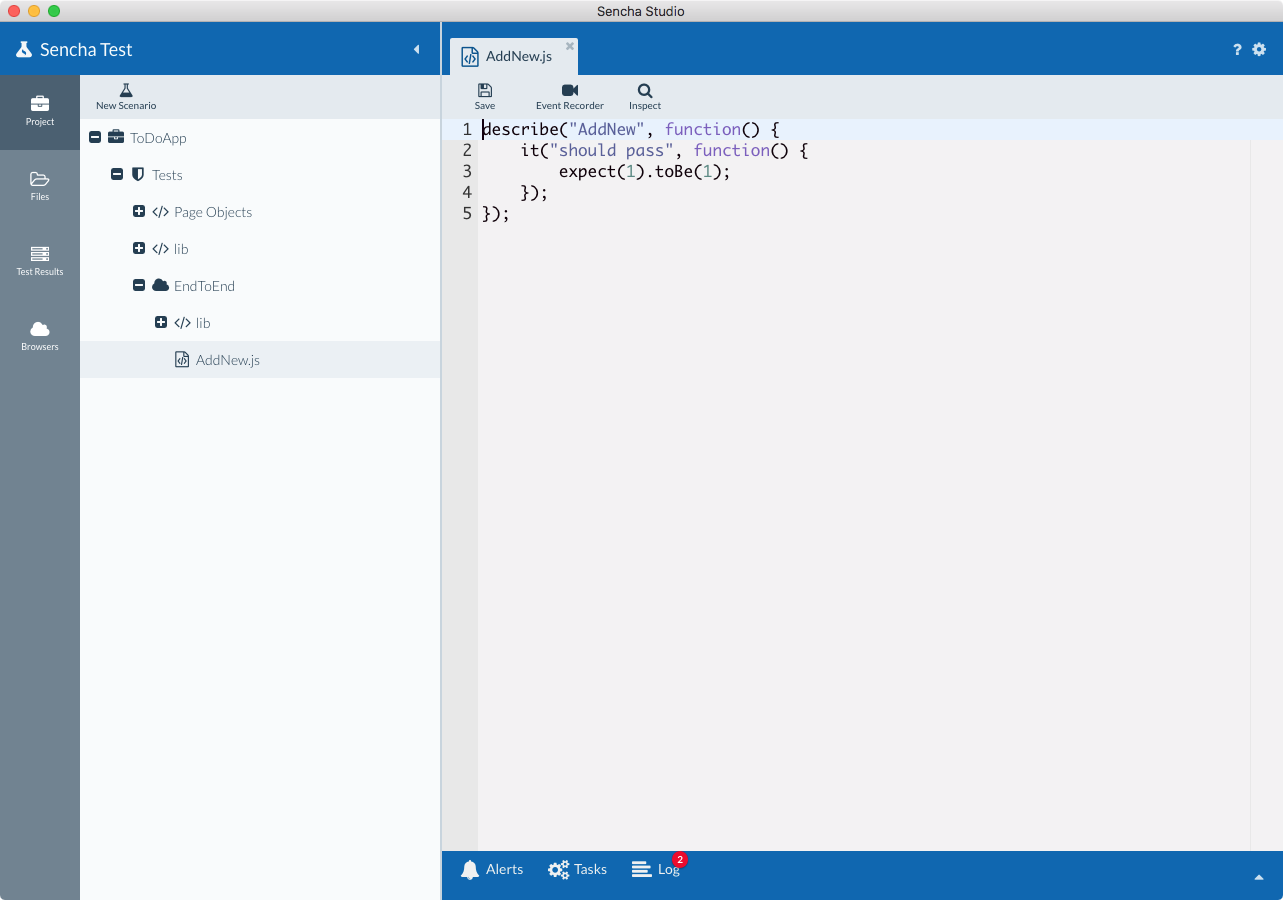
5) Once the new test suite is loaded in the editor, you can write tests. Here, you have multiple options:
- You can utilize the Event Recorder to capture a sequence of actions to be integrated into your test suite.
- You can choose to use the Futures APIs to write the test code.
- There is also an Inspect tool that allows you to create locators for elements.
For example:
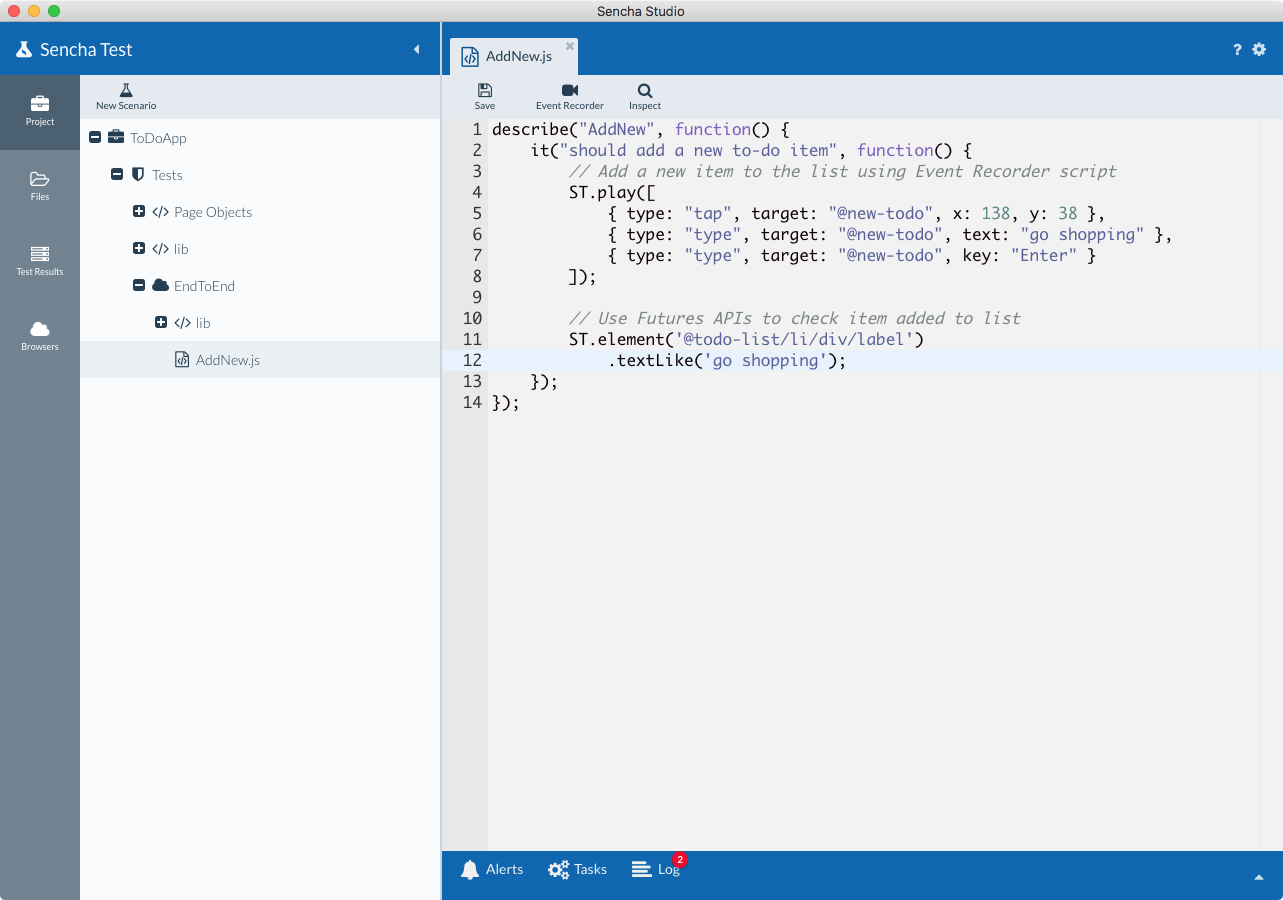
- In the above test suite, we’ve used the Event Recorder to add a new to-do item in our app. Then, we used the Futures APIs to verify that the new item was created successfully. We also used the Inspect tool to generate the locator of the added item.
6) Finally, run the test. You can do so by:
- Selecting the scenario in the tree
- Choosing a browser, such as Chrome
- Clicking the Run button.
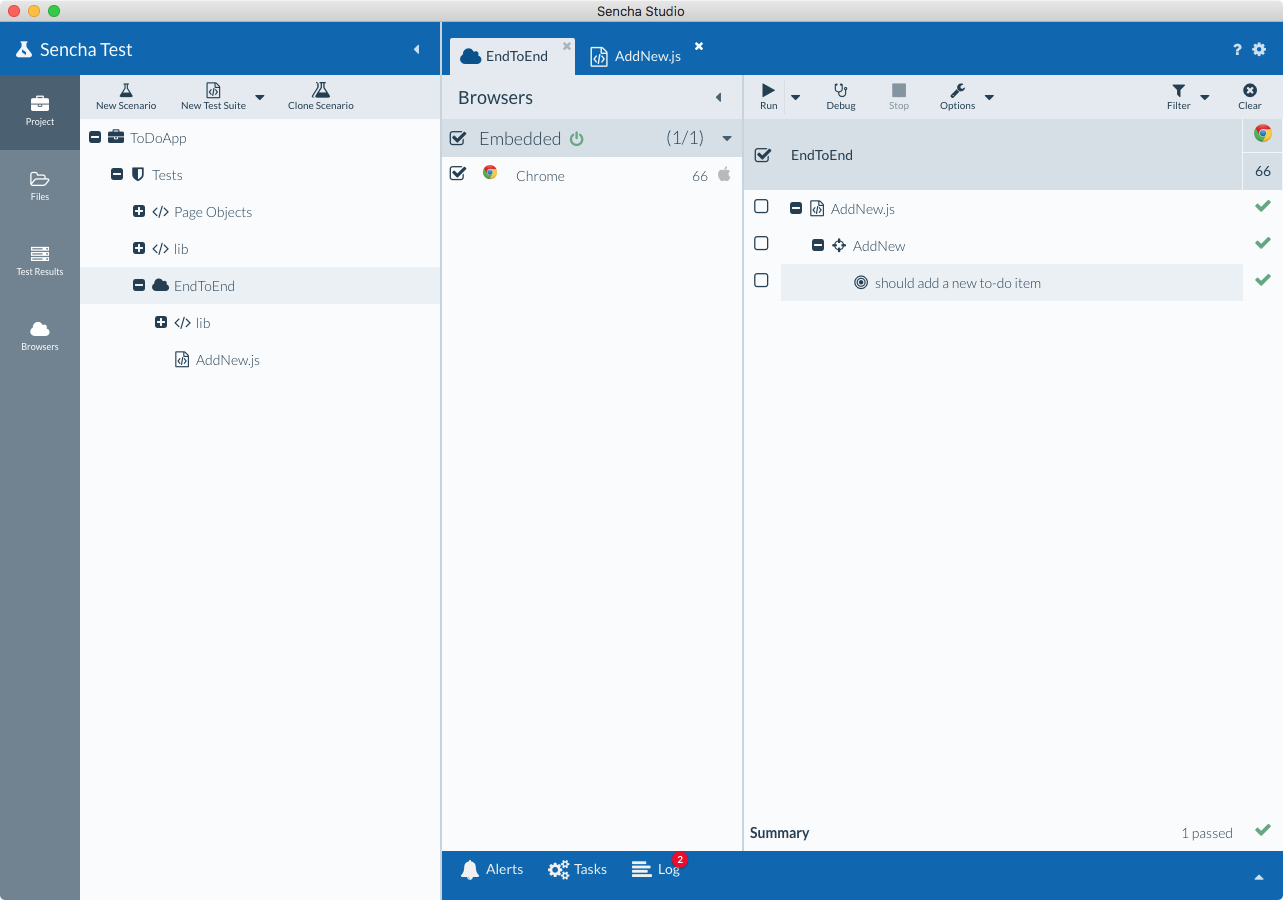
Using the Event Recorder
Here, we’ll show you how you can use the Event Recorder to capture actions to be integrated into your test suite.
When a user performs an action, it is captured. This could be clicking a button or typing into a form field. You can use the locator to determine where the user has actually performed the operation.
Here are the basic steps to use the Event Recorder:
1) Open your Jasmine test suite file.
2) Now, create a new test case. You should write Jasmine test cases inside an ‘it function’. You can find this function within a describe function. For example:
 describe('login form', function () {
     it('should deny access with wrong creds', function () {
         // Your test code goes here
     });
 });
3) enter the correct app URL in the project settings screen before recording.
4) Place the cursor inside the it function. Then click the Event Recorder button to launch the event recorder.
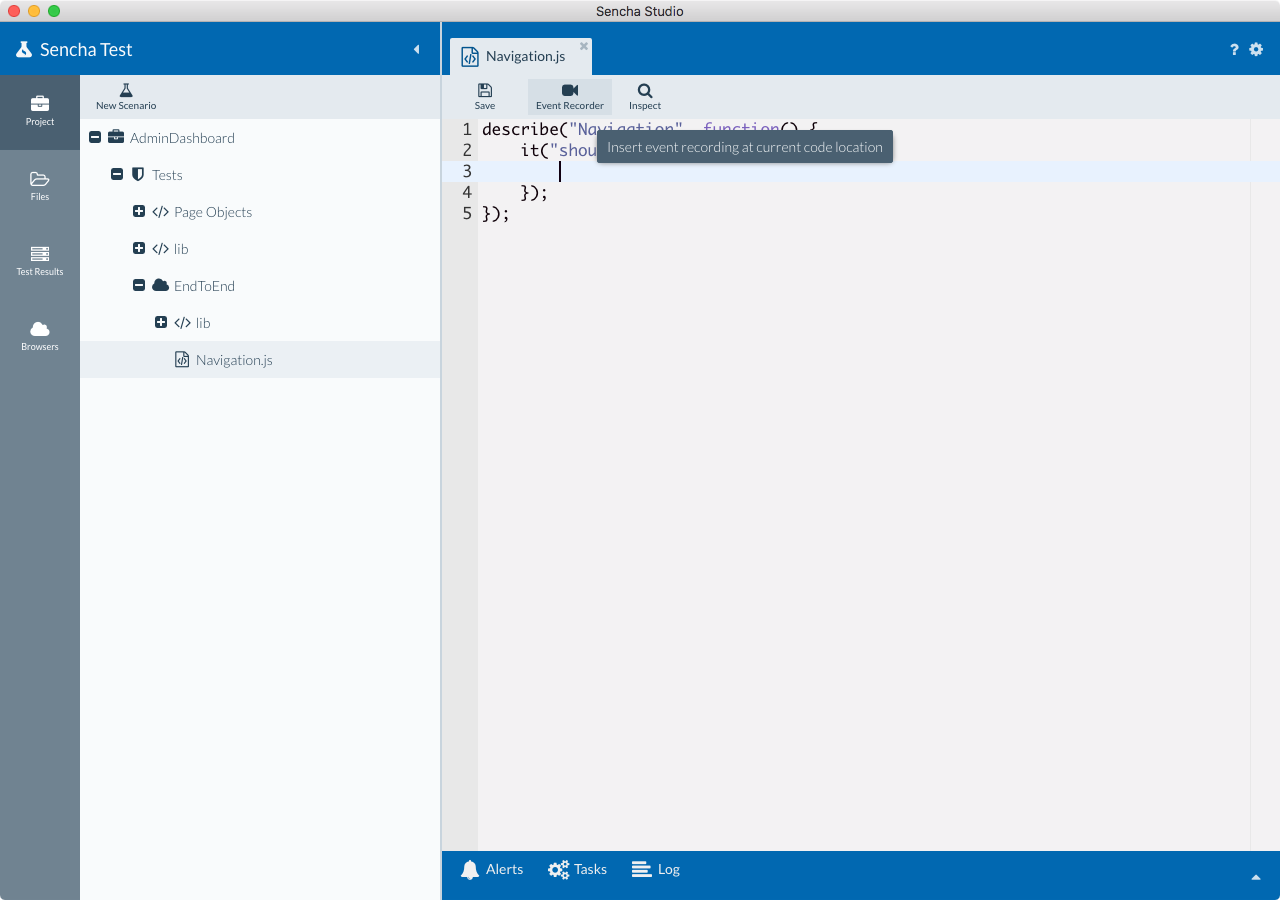
5) You’ll then see browser options. If you’re using the Sencha Test 2 WebDriver scenario option, you can record using the embedded Google Chrome browser option.
6) Now, you can perform different operations on the app, depending on your test case. The events will be captured as the operations are performed.
Testing non-Sencha apps
Sencha Test also allows you to write and execute end-to-end tests for non-Sencha web apps using WebDriver scenarios. You can also use tools like the Event Recorder, Futures API, and Inspect tool to write tests and quickly generate unique locators for elements in the page.
Note: You can follow the same steps as we showed for testing Ext JS apps.
Examples of E2E Test Cases in Sencha Test
Basic example
Here is a basic example of E2E testing with Sencha Test:
 describe("AddNew", function() {
     it("should add a new to-do item", function() {
         // Add a new item to the list using Event Recorder generated script
         ST.play([
             { type: "tap", target: "@new-todo", x: 138, y: 38 },
             { type: "type", target: "@new-todo", text: "go shopping" },
             { type: "type", target: "@new-todo", key: "Enter" }
         ]);

         // Use Futures APIs to check item added to list
         ST.element('@todo-list/li/div/label')
             .textLike('go shopping');
     });
 });
This code above is a simple end-to-end test for adding a new to-do item to a list in an Ext JS app using Sencha Test. It automates user interactions with the app. The code verifies the expected outcome using assertions provided by Sencha Test’s Futures APIs.
Complex example
Here, we’ll test the functionality of the following dashboard app built using Ext JS. We’ll test the ‘add new tasks’ capability. When a user clicks the ‘add new (green +)’ button, the dashboard should add the text from the add new text field to the to-do list. Once the item is added to the list, the text field should be cleared.
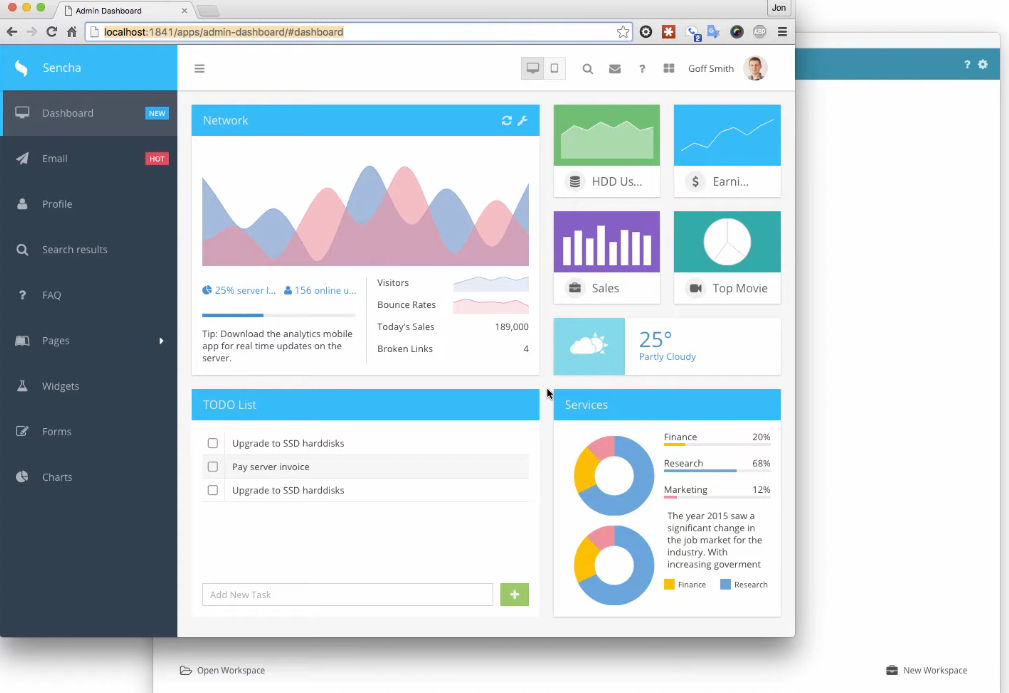
As we mentioned in the previous section, we use Sencha Studio to test Sencha/Ext JS apps.
Here is the test case to test the above-mentioned functionality:
describe("New todo", function() {
     it("should pass", function() {
         expect(1).toBe(1);
});
    it("should appear in the list", function() {
    ST.play([
             { type: "tap", target: "@new-task-text-inputEl", x: 11, y: 6 },
             { type: "keydown", target: "@new-task-text-inputEl", key: "Shift", shiftKey: true },
              { type: "keydown", target: "@new-task-text-inputEl", key: "T", shiftKey: true },
 { type: "keyup", target: "@new-task-text-inputEl", key: "T", shiftKey: true },
{ type: "keyup", target: "@new-task-text-inputEl", key: Shift"},
{ type: "type", target: "@new-task-text-inputEl", text: "ext adding new task" },
{ type: "tap", target: "@button-1080-text-btnIconEl", x: 15, y: 11 },
{fn: function(done){
expect(this.targetEl.dom.innerHTML).toBe('Test adding new task');
done();
}, target: "@tableview-1078-record-95/tbody/tr/td[2]/div", x: 221, y:14}
]);
});
it('should clear new task field', function(){
var fld=ST.find('@new-task-text-inputEl');
expect(fld.value.length).toBe(0);
});
});
The above test suite simulates a sequence of user interactions (such as tap, keydown, keyup, and typing) using ST.play and then asserts the expected outcome. It also has complex interactions, such as simulating key presses with specific keys (Shift, T).
https://www.youtube.com/watch?v=VpcpNXWUQPw
Conclusion
Sencha Test provides an easy and quick way to test Ext JS apps. It supports unit and end-to-end functional tests. Moreover, Sencha Test allows you to test an app on various browsers and platforms simultaneously. In this comprehensive guide, we’ve covered:
- The basic concept of end-to-end testing, its importance, and challenges.
- We’ve shown you how to perform E2E testing with Sencha Tests, along with test case examples.
Build robust apps with Ext JS and Sencha Test – get started now!
FAQs
Where can I find additional resources and support for the Sencha Test?
On the Sencha Test homepage, you’ll find the ‘Sencha Test Resources’ Section, which contains lots of helpful resources.
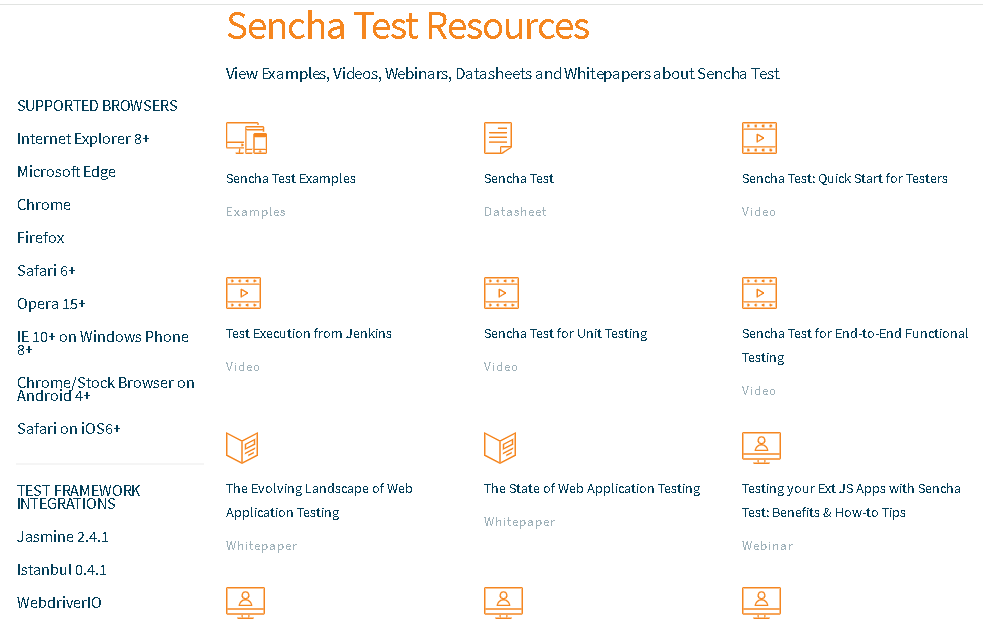
You can find detailed information regarding Sencha Test in the Sencha Test documentation. Moreover, you can always contact Sencha support and get expert help.
How can I troubleshoot and debug issues in my Sencha Test scripts?
- Check your test script syntax
- Review code logic
- Inspect Test Runner output
- Contact Sencha support to get expert help.
Can I integrate the Sencha Test with JIRA for test management?
Yes, you can integrate Sencha Test with JIRA for test management purposes. Integration with Jira leverages Jira’s REST API.
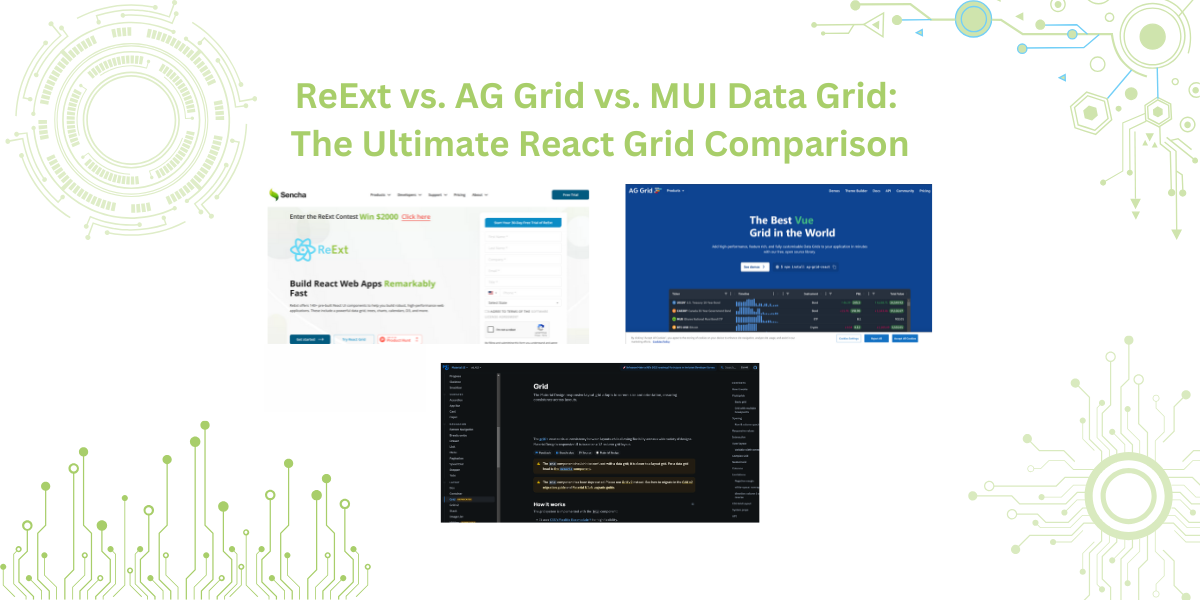
From financial dashboards to e-commerce platforms, your modern web applications rely on data grids. Integrating…
If you notice, you will see that modern web development apps now manage more data…

React continues to be the most popular front-end framework in 2025. Developers choose UI component…


