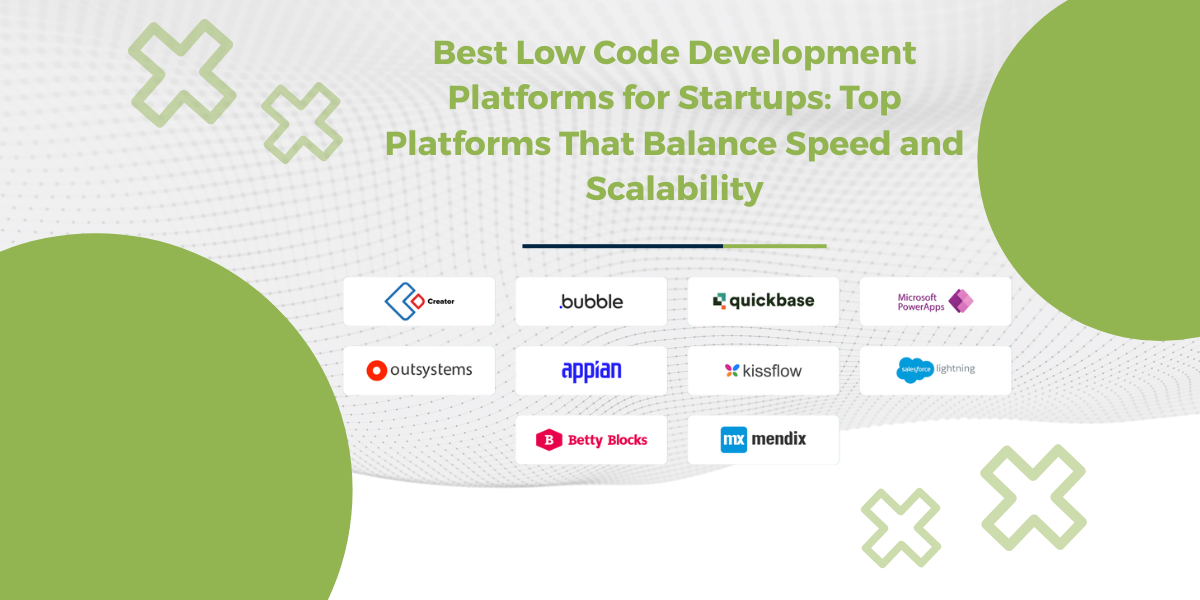
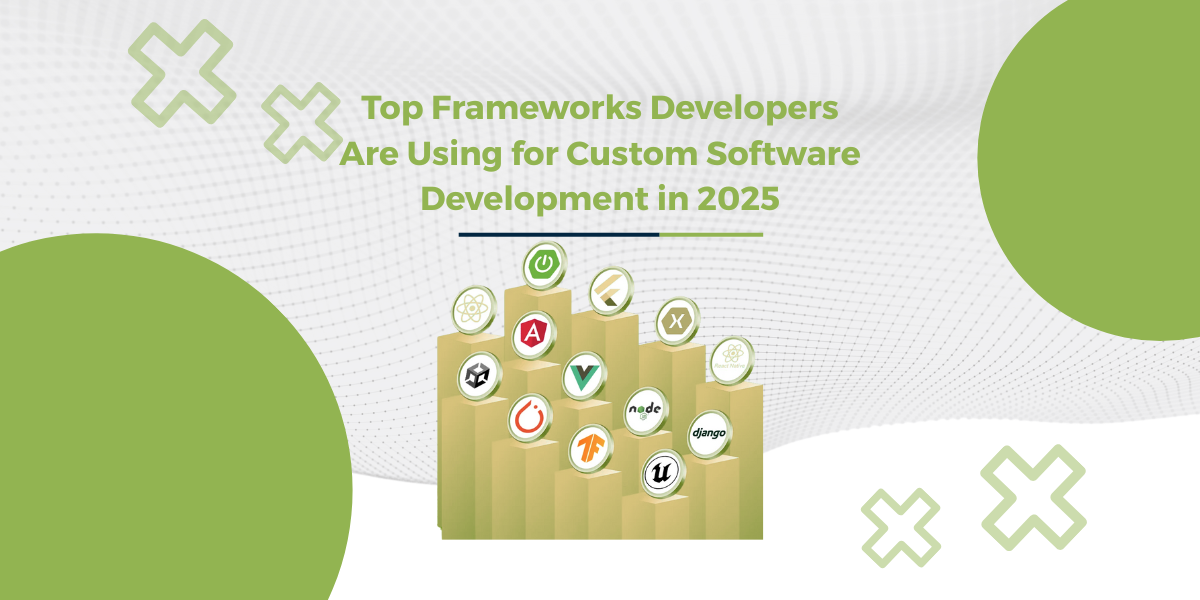
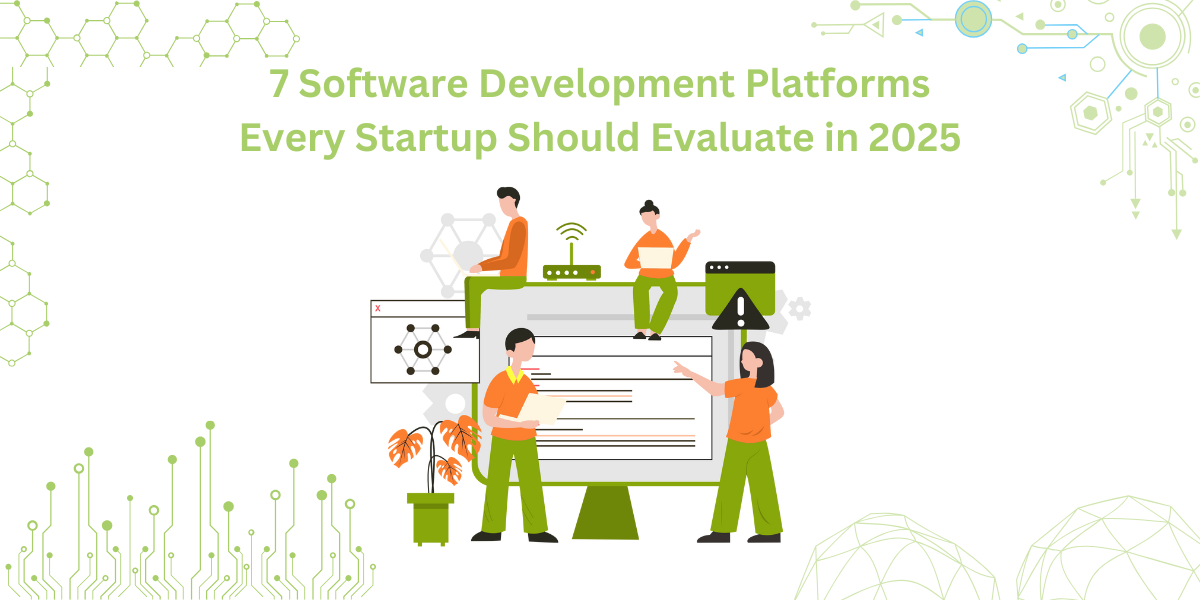
Introducing React ReExt – Sencha Ext JS Components in React! LEARN MORE

Turbocharge Your Business Process Form Input Fields With Ext JS

June 22, 2021 109 Views
Show

Forms are a vital part of any digital product that we see today. They are a great way to interact with the users and record their input. They also play a significant role in capturing valuable user feedback as well. Due to its benefits and use cases, many application developers look for quick and easy ways to create business process forms and focus more of their energy on implementing business logic over the design.

In this blog post, we’ll look at how we can make use of Sencha Ext JS and quickly create impressive process forms for our own use cases in arguably the best javascript framework.

Which types of fields are available for creating forms with Sencha Ext JS?

Sencha Ext JS has an entire namespace Ext.form.field dedicated to providing form controls. It has a standard set of field types that you can use to create an end-to-end form panel. These field types include Checkbox, ComboBox, Date, Display, File, Hidden, HtmlEditor, Number, Radio, Text, TextArea, and Time.

For detailed information about these fields, check out their individual documentation.

How can I do validations based on field types?

Client-side validations are equally important as server-side schema and data validations. They help in the identification of incorrect or insufficient information before making API calls to the server. Hence, resulting in lesser network traffic due to correct API calls. Sencha Ext JS supports two types of validations namely built-in and custom validations.

Ext JS has its own set of apparent validation rules for some field types. For instance, in a Date field, if incorrect data is entered which can not be actually converted into the Date instance, Ext JS internally detects it and provides meaningful hints and error messages for the user to rectify their data.

Built In Incorrect Date

With Ext JS, it is fairly easy to change the location of the error message. The following code snippet will move the error message from the default tooltip to a piece of text under the field itself.

{     xtype: 'datefield',     fieldLabel: 'Date of Birth',     name: 'birthDate',     msgTarget: 'under', // location of the error message     invalidText: '"{0}" bad. "{1}" good.' // custom error message text }

The resulting error message will look like follows.

Built In Incorrect Date No Tooltip

While built-in validations are smooth, straightforward, and time-saving, they can be used every time with every field type. Some validation requirements cannot be met using these built-in validation rules.

The simplest way to implement a custom validation is to use the Text Field’s regex configuration to apply validation rules and the maskRe configuration to limit which characters can be typed into the field.

Following is an example of a Text Field that validates a time.

{
    xtype: 'textfield',
    fieldLabel: 'Last Login Time',
    name: 'loginTime',
    regex: '/^([1-9]|1[0-9]):([0-5][0-9])(sm)$/i',
    maskRe: '/[ds:amp]/i',
    invalidText: 'Not a valid time.  Must be in the format "12:34 PM".'
}

The best part about Ext JS is that it allows you to create reusable validation classes that you can use in your application multiple times without duplicating the code.

Following is an example of a validation class that does exactly the same thing i.e. it validates time, but with reusable configurations.

// custom Vtype for vtype:'time'
var timeTest = '/^([1-9]|1[0-9]):([0-5][0-9])(sm)$/i';
Ext.apply(Ext.form.field.VTypes, {
    //  vtype validation function
    time: function(val, field) {
        return timeTest.test(val);
    },
    // vtype Text property: The error text to display when the validation function returns false
    timeText: 'Not a valid time.  Must be in the format "12:34 PM".',
    // vtype Mask property: The keystroke filter mask
    timeMask: '/[ds:amp]/i'
});

What is an easy way to implement a form submit functionality?

Submitting a form is extremely simple and straightforward with Sencha Ext JS. Ext JS allows you to configure the server URL in the form class and define the submit button along with its callback handler.

After setting up the URL and submission handler, your form should look somewhat like this.

Ext.create('Ext.form.Panel', {
    ...
    url: 'add_user',
    items: [
        ...
    ],
    buttons: [
        {
            text: 'Submit',
            handler: function() {
                var form = this.up('form'); // get the form panel
                if (form.isValid()) { // make sure the form contains valid data before submitting
                    form.submit({
                        success: function(form, action) {
                           Ext.Msg.alert('Success', action.result.msg);
                        },
                        failure: function(form, action) {
                            Ext.Msg.alert('Failed', action.result.msg);
                        }
                    });
                } else { // display error alert if the data is invalid
                    Ext.Msg.alert('Invalid Data', 'Please correct form errors.')
                }
            }
        }
    ]
});

That’s all there is to it. For more information about forms, check out our detailed guide.

Ready to get started with Sencha Ext JS? Head over to Sencha Ext JS and create your own business process forms now.

Show
Start building with Ext JS today

Build 10x web apps faster with 140+ pre-build components and tools.

Latest Content
Discover the Top 07 Architecture Patterns used in Modern Enterprise Software Development

Developing software without an architecture pattern may have been an option back then. However, that’s…

JavaScript Design Patterns: A Hands-On Guide with Real-world Examples

As a web developer, you know how popular JavaScript is in the web app development…

Virtual JS Days 2024のハイライト

2024年2月20日~22日、第3回目となる「Virtual JavaScript Days」が開催されました。JavaScript の幅広いトピックを採り上げた数多くのセッションを実施。その内容は、Senchaの最新製品、ReExt、Rapid Ext JSまで多岐にわたり、JavaScriptの最新のサンプルも含まれます。 このカンファレンスでは多くのトピックをカバーしています。Senchaでセールスエンジニアを務めるMarc Gusmano氏は、注目すべきセッションを主催しました。Marc は Sencha の最新製品「ReExt」について、詳細なプレゼンテーションを実施。その機能とメリットを、参加者に理解してもらうべく詳細に説明しました。 カンファレンスは、Senchaのジェネラルマネージャを務めるStephen Strake氏によるキーノートでスタートしました。キーノートでは、会社の将来のビジョンについての洞察を共有しています。世界中から JavaScript 開発者、エンジニア、愛好家が集まるとてもエキサイティングなイベントとなりました。これは、JavaScript…

See More