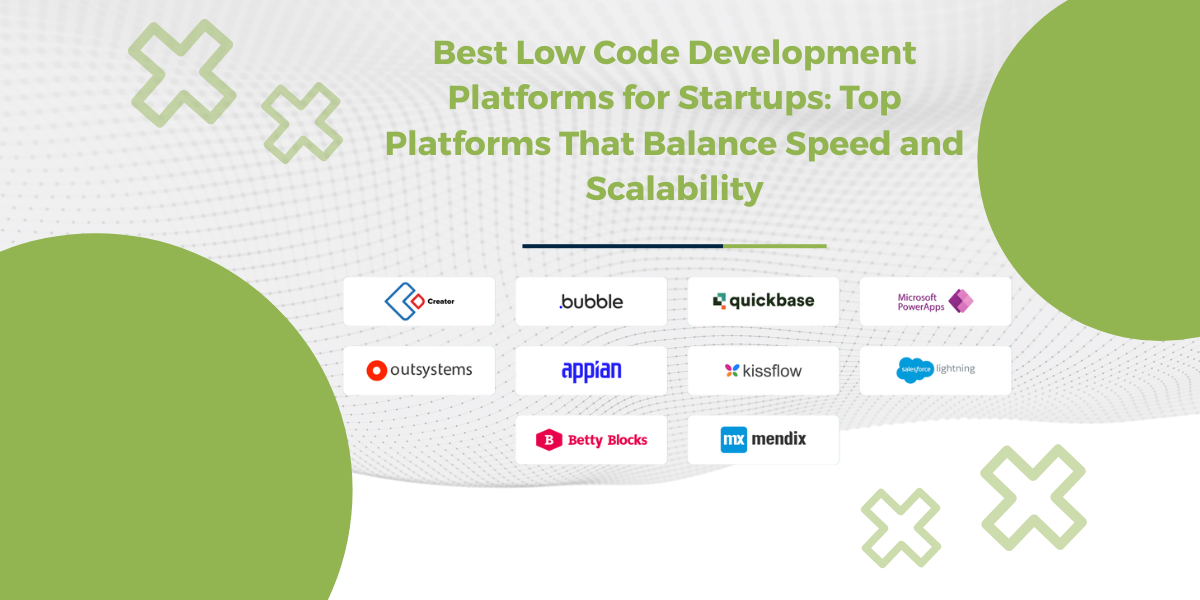
Introducing React ReExt – Sencha Ext JS Components in React! LEARN MORE

Quickly Harmonize Your Non-English Localization Efforts In JavaScript

August 6, 2021 149 Views
Show

For quite a few years now, language localization has been one of the most neglected segments in application development. While some companies are making localization attempts, in many cases businesses are neglecting entire markets and making the assumption that a single language version will suffice. Alternatively, they are simply unaware of how easy localization can actually be with the right framework in place.

However, in a global economy where buzzwords like inclusivity and understanding are common, it only makes sense to make an effort to address localization. Simply put, with properly localized applications,  everyone can access your technology. In more pragmatic terms, businesses that neglect localization efforts are limiting their potential user base by not making an effort to cater to different language markets.

Because the penny has finally dropped, many modern application development frameworks have started providing active support for language localization. Sencha ExtJS is one such framework. ExtJS makes it extremely easy for developers to integrate localization processes in their applications with a minimum amount of effort and time spent.

In this article, we’ll look at how we can easily harmonize our localization efforts in JavaScript using Sencha ExtJS.

How can I achieve localization with Sencha CMD?

To implement localization with Sencha CMD, you only need to modify the app.json file in your Sencha CMD-generated application. Add the ext-locale package in the requires array to register it for use across the application.

"requires": [
    "ext-locale"
],

Once you have registered the package, you need to define the localization language in your app.json file to create a locale setting.

"locale": "es",

To see it in action, build the application and refresh the page to witness all the English values translated into Spanish.

sencha app build

What is an easy way to do localization without Sencha CMD?

To achieve localization without using the Sencha CMD, simply include and link the ExtJS localization file in your HTML file as follows.

<!DOCTYPE html>
<html>
<head>
    <!-- Ensure we're using UTF-8 -->
    <meta http-equiv="Content-Type" content="text/html; charset=utf-8">
    <title>Localization example</title>
    <!-- Main Ext JS files -->
    <link rel="stylesheet" type="text/css" href="resources/ext-theme-neptune-all.css">
    <script type="text/javascript" src="ext-all.js"></script>      

    <!-- Include the translations -->
    <script type="text/javascript" src="ext-locale-es.js"></script>

    <script type="text/javascript">
        Ext.onReady(function() {
            Ext.create('Ext.picker.Date', {
                renderTo: Ext.getBody()
            });
        });
    </script>
</head>
<body>

Is there RTL support in ExtJS?

ExtJS has extensive support for localization. The framework includes over 40 languages from all over the world. Because many languages are written right-to-left, ExtJS has RTL support built-in. Developers can easily enable ExtJS RTL support, allowing you to better accommodate an international user base.

How can I enable RTL support using Sencha CMD?

To enable RTL support in your Sencha CMD-generated application, you simply need to add Ext.rtl.* in the requires array and set the rtl flag to true as shown in the code below.

Ext.define('MyApp.view.main.Main', {
    extend: 'Ext.container.Container',
    requires: [
        'Ext.rtl.*'
    ],
    rtl: true,
    ...

For further details on locales with RTL and RTL locale override, check out this section in our RTL guide.

What is a simple way to enable RTL support without using Sencha CMD?

Even if your application does not utilize Sencha CMD you can still make use of localization and enable RTL support in a few simple steps. The first step is to update your HTML file to include and link the RTL framework file such as build/ext-all-rtl.js. Linking the framework file will modify your application to load the RTL-specific library.

Linking the framework file is not enough. You also need to include the selected theme’s RTL CSS file such as build/packages/ext-theme-{themename}/build/resources/ext-theme-{themename}-all-rtl.css.

Finally, add the rtl: true flag to the viewport.

<!DOCTYPE html>
<html>
    <head>
        <title>Hello RTL</title>
        <link rel="stylesheet" type="text/css" href="build/packages/ext-theme-neptune/build/resources/ext-theme-neptune-all-rtl.css">
        <script type="text/javascript" src="/releases/extjs/5.0.0/build/ext-all-rtl.js"></script>
        <script type="text/javascript" src="build/packages/ext-theme-neptune/build/ext-theme-neptune.js"></script>
        <script>
            Ext.application({
                name: 'MyApp',
                launch: function() {

                    Ext.create('Ext.container.Viewport', {
                        renderTo: Ext.getBody(),
                        rtl : true,
                        html: "hello I am a bunch of text"
                    });
                }
            });
        </script>
    </head>
    <body>
    </body>
</html>

As you can see, due to its easy-to-understand localization framework, rapidly creating a localized application with Sencha ExtJS is pretty simple. If you want to localize a simple or even a more complicated application to provide a seamless, native user experience, ExtJS is the best way forward.

Ready to get started with Sencha Ext JS? Head over to Sencha Ext JS and create your own localized apps with Sencha now.