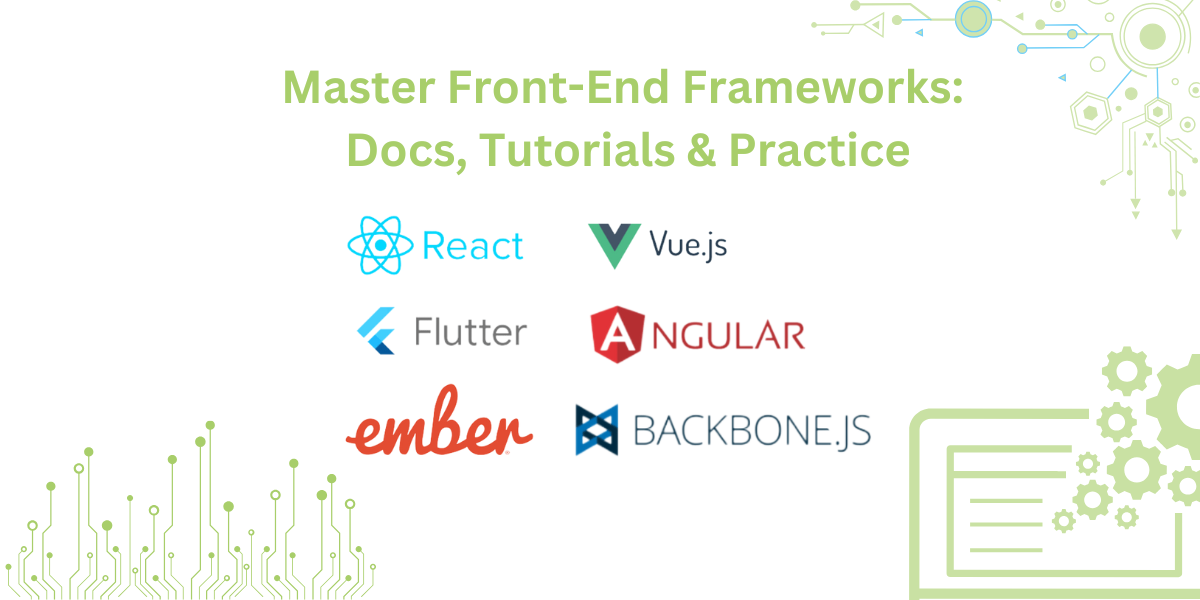
Introducing React ReExt – Sencha Ext JS Components in React! LEARN MORE

Easily Perform Powerful Computer Vision Image Analysis With Javascript

May 25, 2021 140 Views

If you want to build cutting-edge, state-of-the-art, cross-platform web applications, Sencha’s Ext JS framework is the answer for you. Ext JS is a complete JavaScript framework that accelerates the development of web apps for all modern devices. Moreover, using ExtJS, you can integrate AI and machine learning libraries easily and effectively. This allows you to build apps that are even more awesome than what you were building before.

Microsoft Azure Cognitive Services include an extensive Computer Vision library dedicated specifically to processing and analyzing images. The Microsoft library makes use of computer vision and machine learning algorithms to output various image descriptions and parameters.

In this blog, we will learn how to call the Image Analysis REST APIs from Ext JS. The Computer Vision library contains many different features and APIs, each with a different output. As an example, the resulting output of Microsoft’s  describeImage API looks like this:

Prerequisites

If you want to get started with Microsoft Azure Image Analysis API in Ext JS you are going to need the following tools and accounts.

Getting Started

To begin with, you need to generate an Ext JS minimal desktop application. You do this using the Sencha Ext JS 7.0 Modern Toolkit.

If you are a newbie, and you are lost already, don’t worry. You can get the help you need from this tutorial.

Now, for this example, let’s start by creating a folder named azure-cv-demo-app. This is where we will keep the generated files. Open your console and change the folder to your app folder.

Then, install the following:

  • ms-rest-azure and @azure/cognitiveservices-computervision NPM package.
  • At the console type:
    • npm install @azure/cognitiveservices-computervision
  • Install async:
    • npm install async

The describeImage API and the Response

Now that that is done, at your command prompt, type the following command. Make sure you replace the values YOUR_KEY with your own key and YOUR_ENDPOINT with your assigned endpoint. You can also change the URL of the image you are evaluating.

curl -H "Ocp-Apim-Subscription-Key: YOUR_KEY" -H "Content-Type: application/json" "https://YOUR_ENDPOINT/vision/v3.2/analyze?visualFeatures=Description" -d "{\"url\":\"https://www.cartoonbrew.com/wp-content/uploads/jobslasseter.jpg\"}"

The response is a JSON object:

{"description":{"tags":["text","person","standing","indoor","people","group","posing"],
"captions":[{"text":"John Lasseter, Bob Iger, Edwin Catmull, Steve Jobs are posing for a picture",
"confidence":0.5480952858924866}]},
"requestId":"db17df4a-0eec-4d92-9553-db4afeac32dc",
"metadata":{"height":400,"width":480,"format":"Jpeg"},"modelVersion":"2021-04-01"}

We’ll use the app we are creating to display the description and confidence fields you see above.

Include External Modules

Moving on, you need to edit the index.js file in your main project folder by adding the following lines to it. Make sure to replace MyCVApp with the name of your application. Also, don’t forget to replace YOUR_KEY with your key and YOUR_ENDPOINT with your corresponding endpoint.

'use strict';
MyCVApp.xAsync = require('async');
MyCVApp.xComputerVisionClient = require('@azure/cognitiveservices-computervision').ComputerVisionClient;
MyCVApp.xApiKeyCredentials = require('@azure/ms-rest-js').ApiKeyCredentials;
/**
* AUTHENTICATE
* This single client is used for all examples.
*/
MyCVApp.xKey = 'YOUR_KEY';
MyCVApp.xEndpoint = 'YOUR_ENDPOINT';

Create the CV Report Grid

Now we can create the grid that displays our response fields. These are the description and the confidence fields we saw in the API output earlier. To do this, just create a new file called ReportGrid.js, and add the following code to it:

Ext.define('MyCVApp.view.ReportGrid', {

extend: 'Ext.grid.Grid',

xtype: 'reportgrid',

columns: [{

    type: 'column',

    text: 'Caption',

    dataIndex: 'captionText',

    width: 600

}, {

    text: 'Confidence',

    dataIndex: 'captionConfidence',

    width: 300

}]

});

Create the Main View

Now to create our main view. Begin with opening the MainView.js file.  Once you are in, add the following to it:

  • A text field to input the source image.
  • A button with text that reads ‘Analyze’ — Clicking this populates the report grid.
  • A place to display the source image.
  • The CV report grid we created.

Finally, don’t forget to create a cvStore to hold the response data in memory. The overall code for MainView.js looks like this:

Ext.define('MyCVApp.view.main.MainView', {

xtype: 'mainview',

  controller: 'mainviewcontroller',

  extend: 'Ext.Panel',

  layout: 'vbox',

  items: [{

          xtype: 'fieldset',

          items: [

              {

                 xtype: 'textfield',

                 label: 'Url of the image to be analyzed',

                 placeholder: 'Enter url of the image for analysis',

                 name: 'textContent',

                 // validate not empty

                 required: true,

                 reference: 'imageURL'

              },

              {

                  xtype: 'button',

                  text: 'analyze',

                  handler: 'onAnalyzeClick'

              }

          ]

      },

      {

       xtype: 'image',

       title: 'Source Image',

       reference: 'srcImage',

      },

     {

      xtype: 'reportgrid',

      title: 'Image Analysis Report',

      bind: {

                store: '{cvStore}'

            }

    }],

  viewModel: {

      stores: {

          cvStore: {

              type: 'store',

              storeId: 'dStore',

              autoLoad: true,

              fields:[{

                  name: 'captionText',

                  mapping: 'text'

              },

              {

                  name: 'captionConfidence',

                  mapping: 'confidence'

              }

              ],

              proxy: {

                  type: 'memory',

                  data: null,

                  reader: {

                      rootProperty: 'captions'

                  }

              }

          }

      }

  },

  defaults: {

      flex: 1,

      margin: 16

  }

});

Create the Main Controller

Now it’s time to add the logic to the main controller. The controller handles the ‘analyze’ button click by calling the Azure describeImage API. To do this, edit the MainViewController.js file as follows:

Ext.define('MyCVApp.view.main.MainViewController', {

  extend: 'Ext.app.ViewController',

  alias: 'controller.mainviewcontroller',

onAnalyzeClick: function (button) {

        var imageUrl = this.lookupReference('imageURL').getValue();

        console.log('value:{}',imageUrl);

        this.sendCVRequest(imageUrl);

        var displayImg = this.lookupReference('srcImage').setSrc(imageUrl);

      },

//code modified from https://docs.microsoft.com/en-us/azure/cognitive-services/computer-vision/quickstarts-sdk/image-analysis-client-library?tabs=visual-studio&pivots=programming-language-csharp

sendCVRequest: function (imgUrl) {

  MyCVApp.xAsync.series([

    async function () {

const computerVisionClient = new MyCVApp.xComputerVisionClient(

                                         new MyCVApp.xApiKeyCredentials({ inHeader: { 'Ocp-Apim-Subscription-Key': MyCVApp.xKey } }), MyCVApp.xEndpoint);

            const describeURL = imgUrl;

            // Send request to analyze image

            const response = (await computerVisionClient.describeImage(describeURL));

            //process the response

            console.log(`Resposne:${JSON.stringify(response)}`);

            var data = response.captions;

            //Update the data store with the response

            var store = Ext.data.StoreManager.lookup('dStore');

            console.log('dStore:{}',store);

            store.getProxy().data = data;

            store.reload();

    },

    function () {

      return new Promise((resolve) => {

        resolve();

      })

    }

  ], (err) => {

  alert(err);

    throw (err);

  });

}

})

How can I use Microsoft Azure Computer Vision APIs from Javascript?

That’s it!  As you can see, Sencha Ext JS makes it extremely easy to call Microsoft Azure Computer Vision APIs. If you want to try this yourself, you can download the full source code here (JavascriptAzureImageAnalysisAPI), add more features, and build awesome apps.

Let us know how you get on and share your projects or similar in the comments.